How to add images to labels in Google Sheets?
This guide shows you how to add images to your labels using Smart Label Maker. There are two ways to use images in your labels:
- Static image — the same image (such as a logo or brand mark) appears on every label across the sheet.
- Dynamic image — a different image appears on each label, matched automatically from a filename column in your spreadsheet.
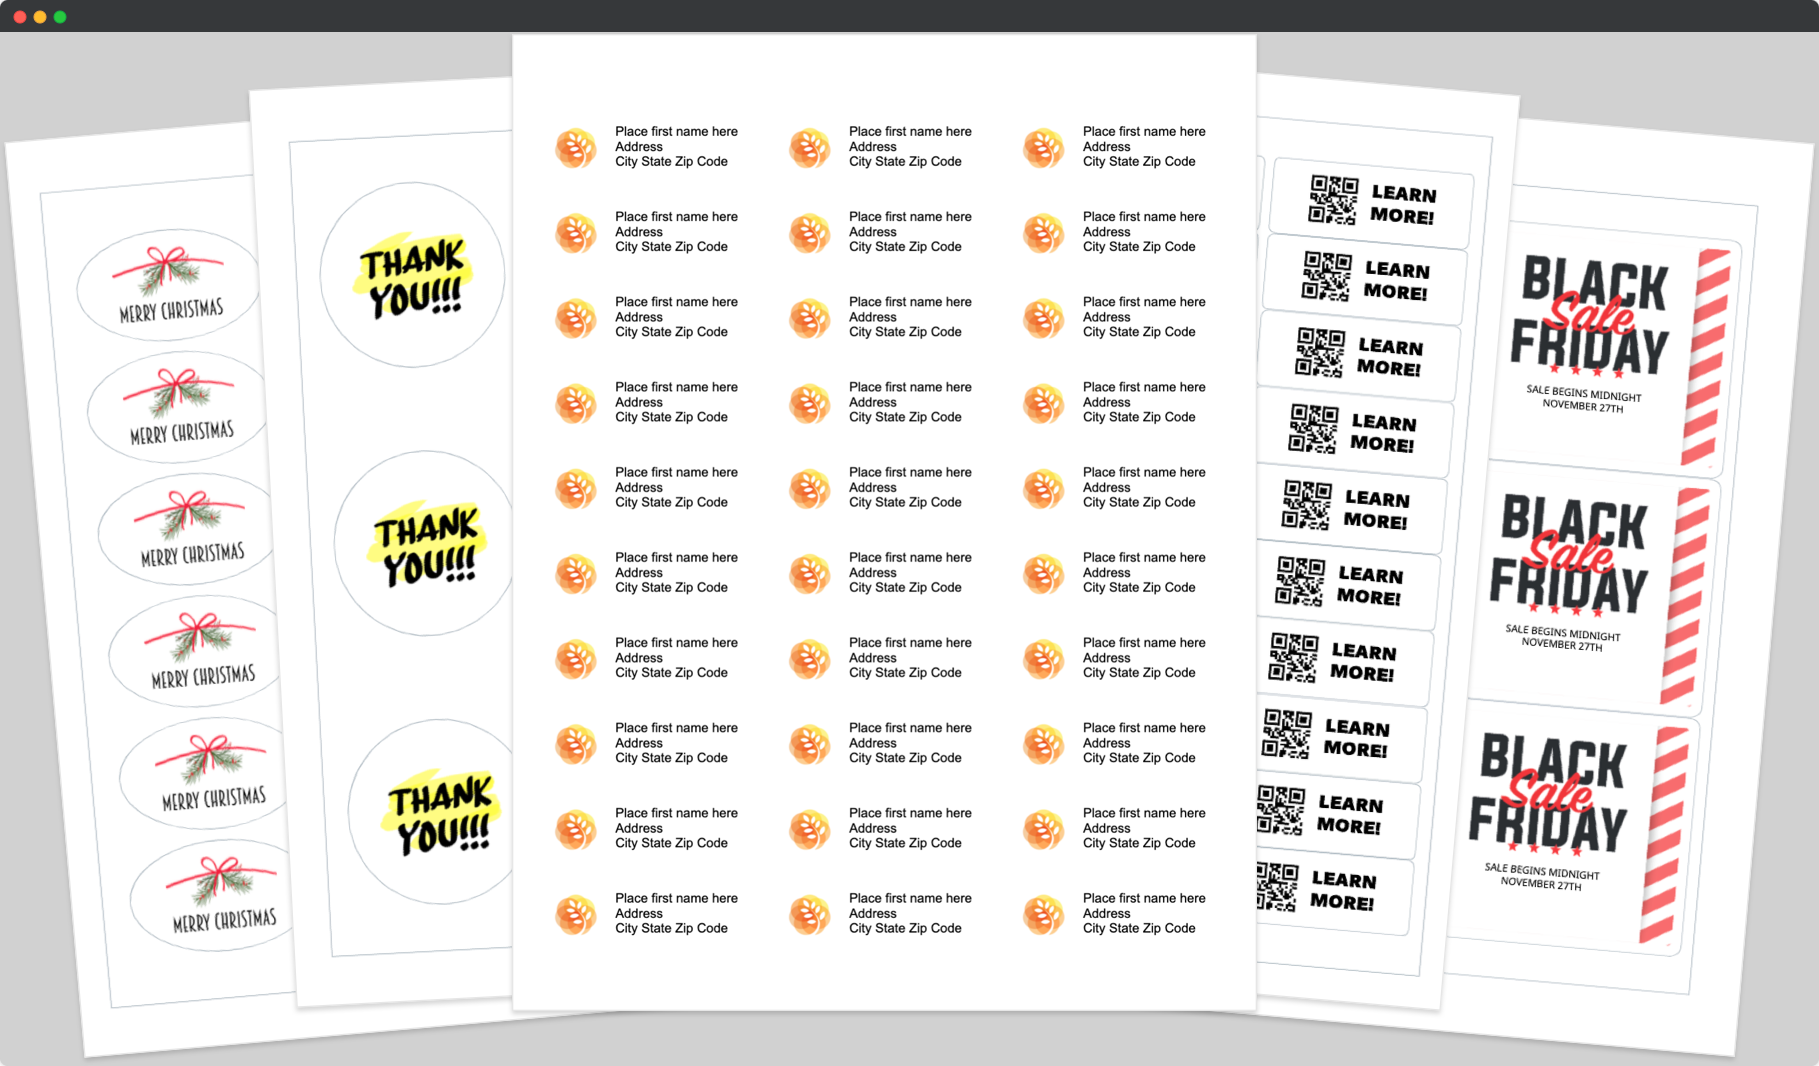
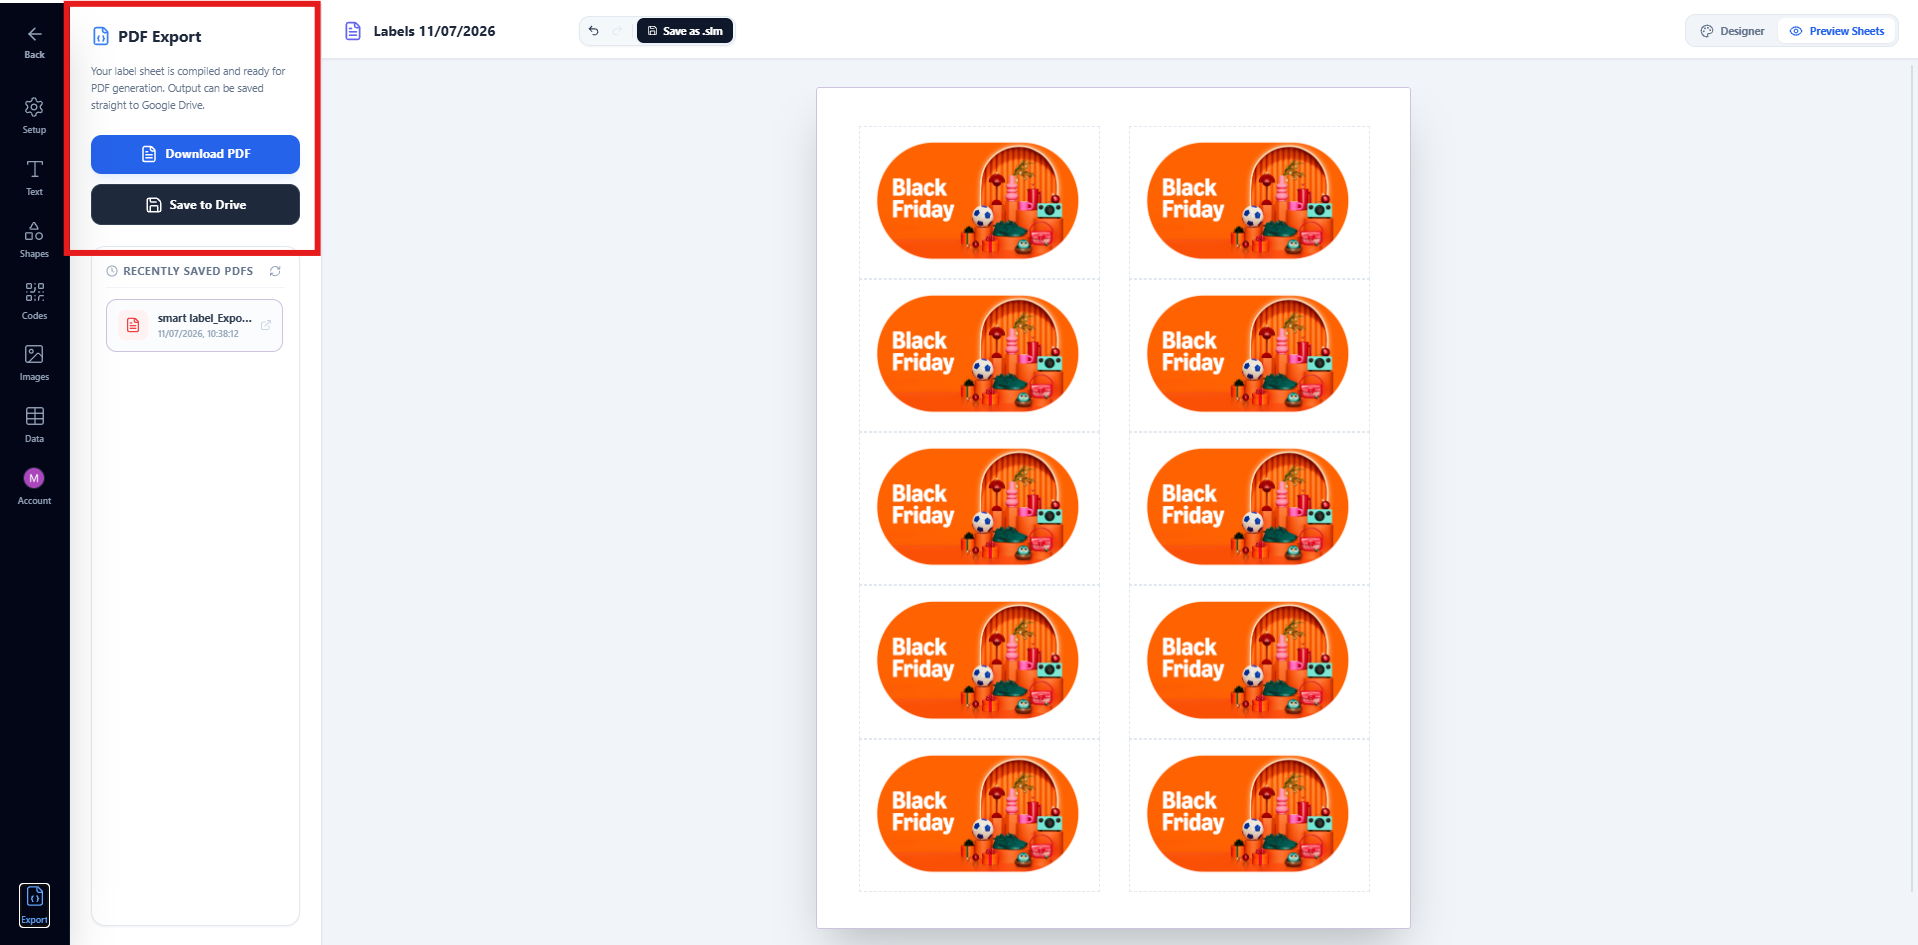
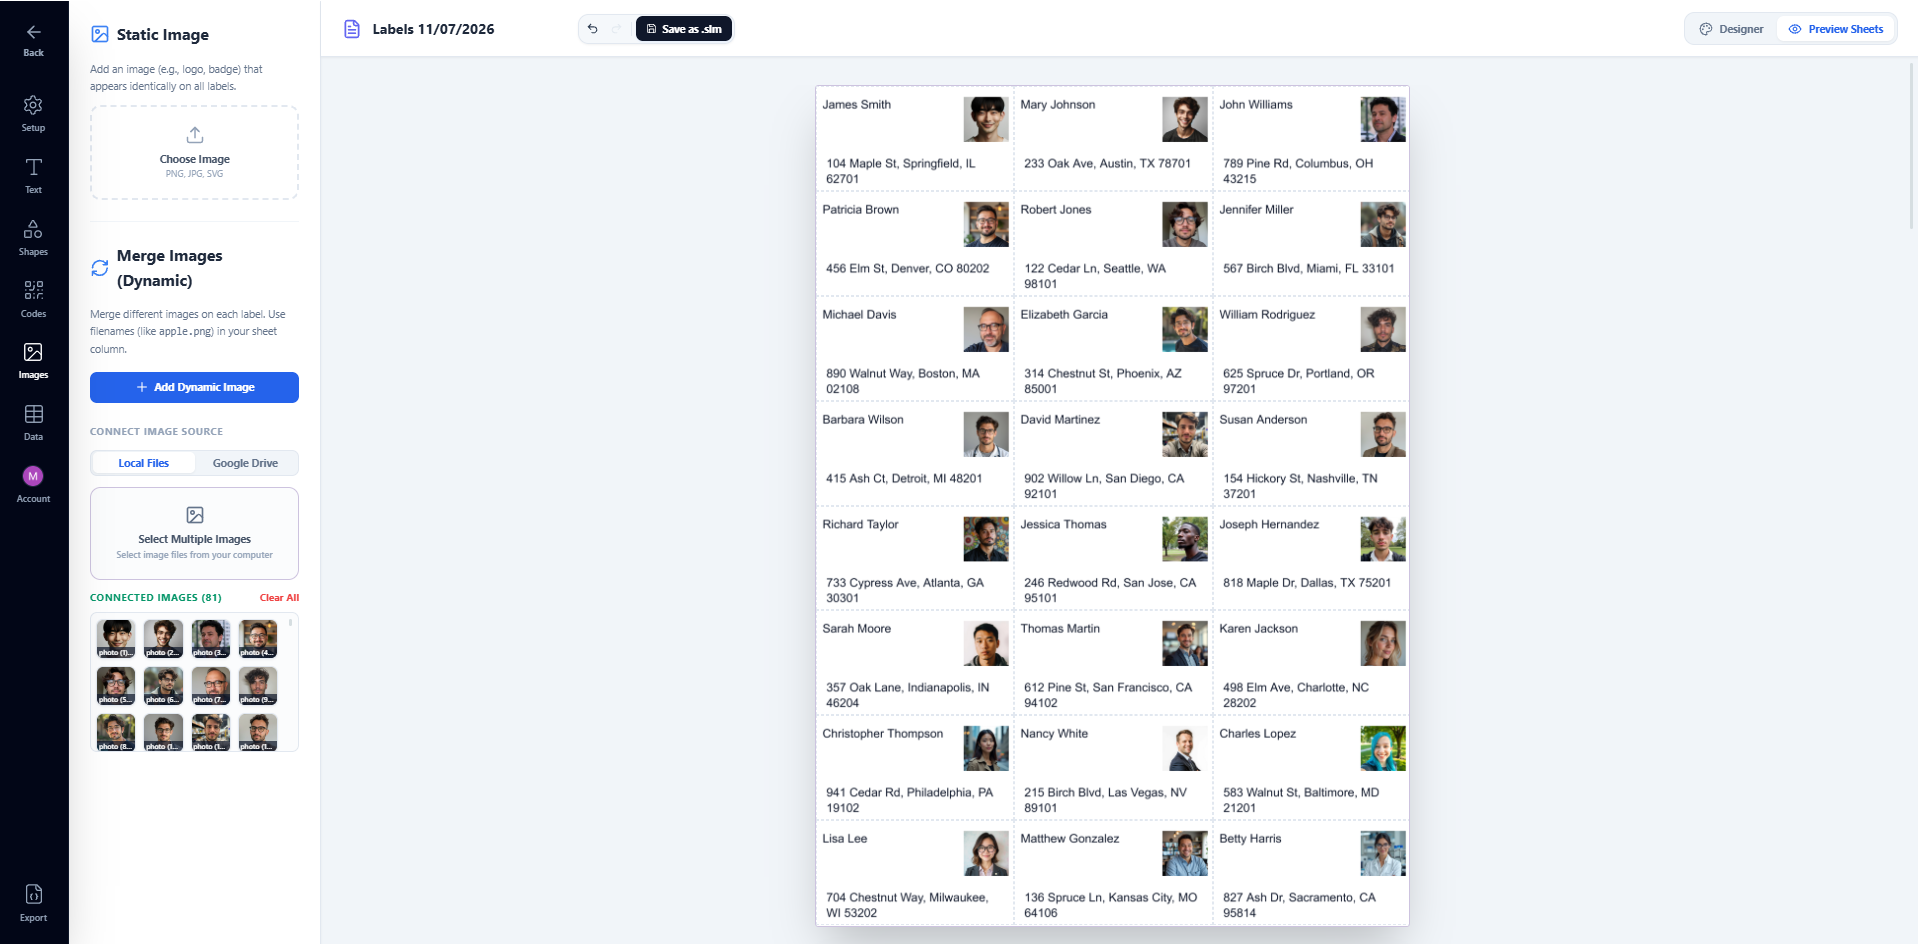
Here is a sample of labels with images you will be able to create after reading this guide:
Part 1 — Static image (same image on every label)
Use this when you want to add a logo, icon, or brand mark that is identical on every label — for example a company logo combined with merge fields for name and address.
- Open and select a template
- Upload your image
- Position and style the image
- Combine with text
- Preview, export and print
1. Open and select a template
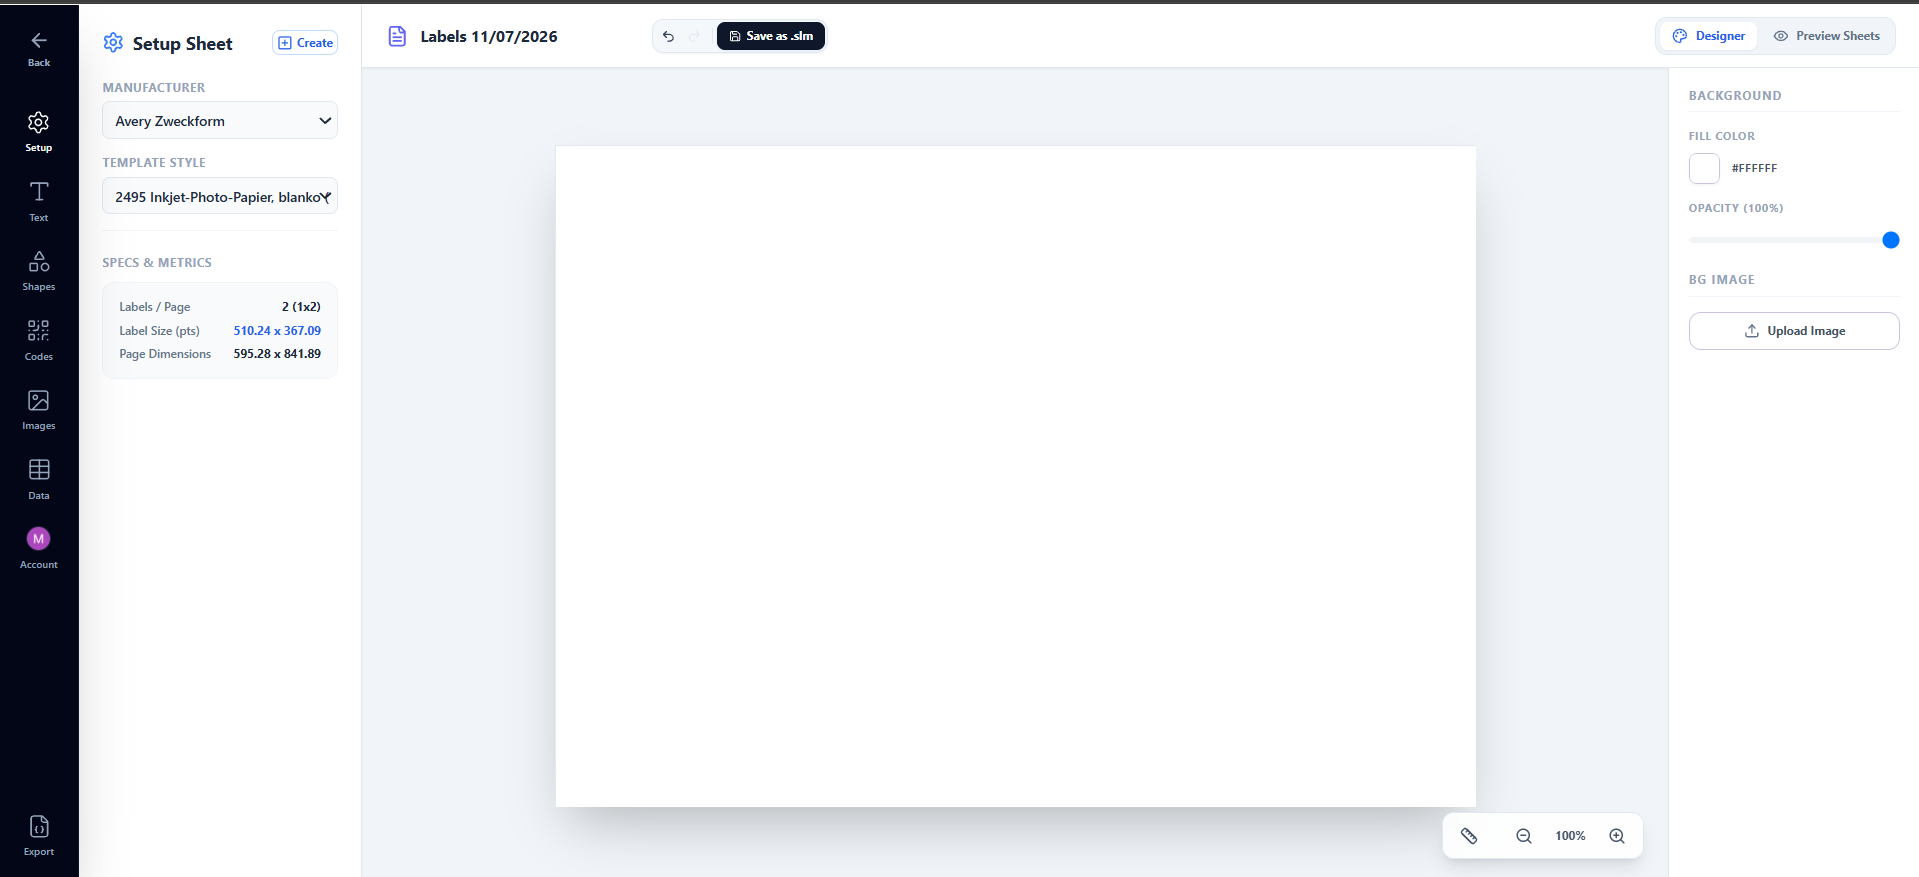
Open Smart Label Maker from Google Sheets or Google Drive. If you are not sure how to do this, see our guide on how to open Smart Label Maker.
On the dashboard, click any template card from the Start a New Design grid that matches your physical label sheet.
2. Upload your image
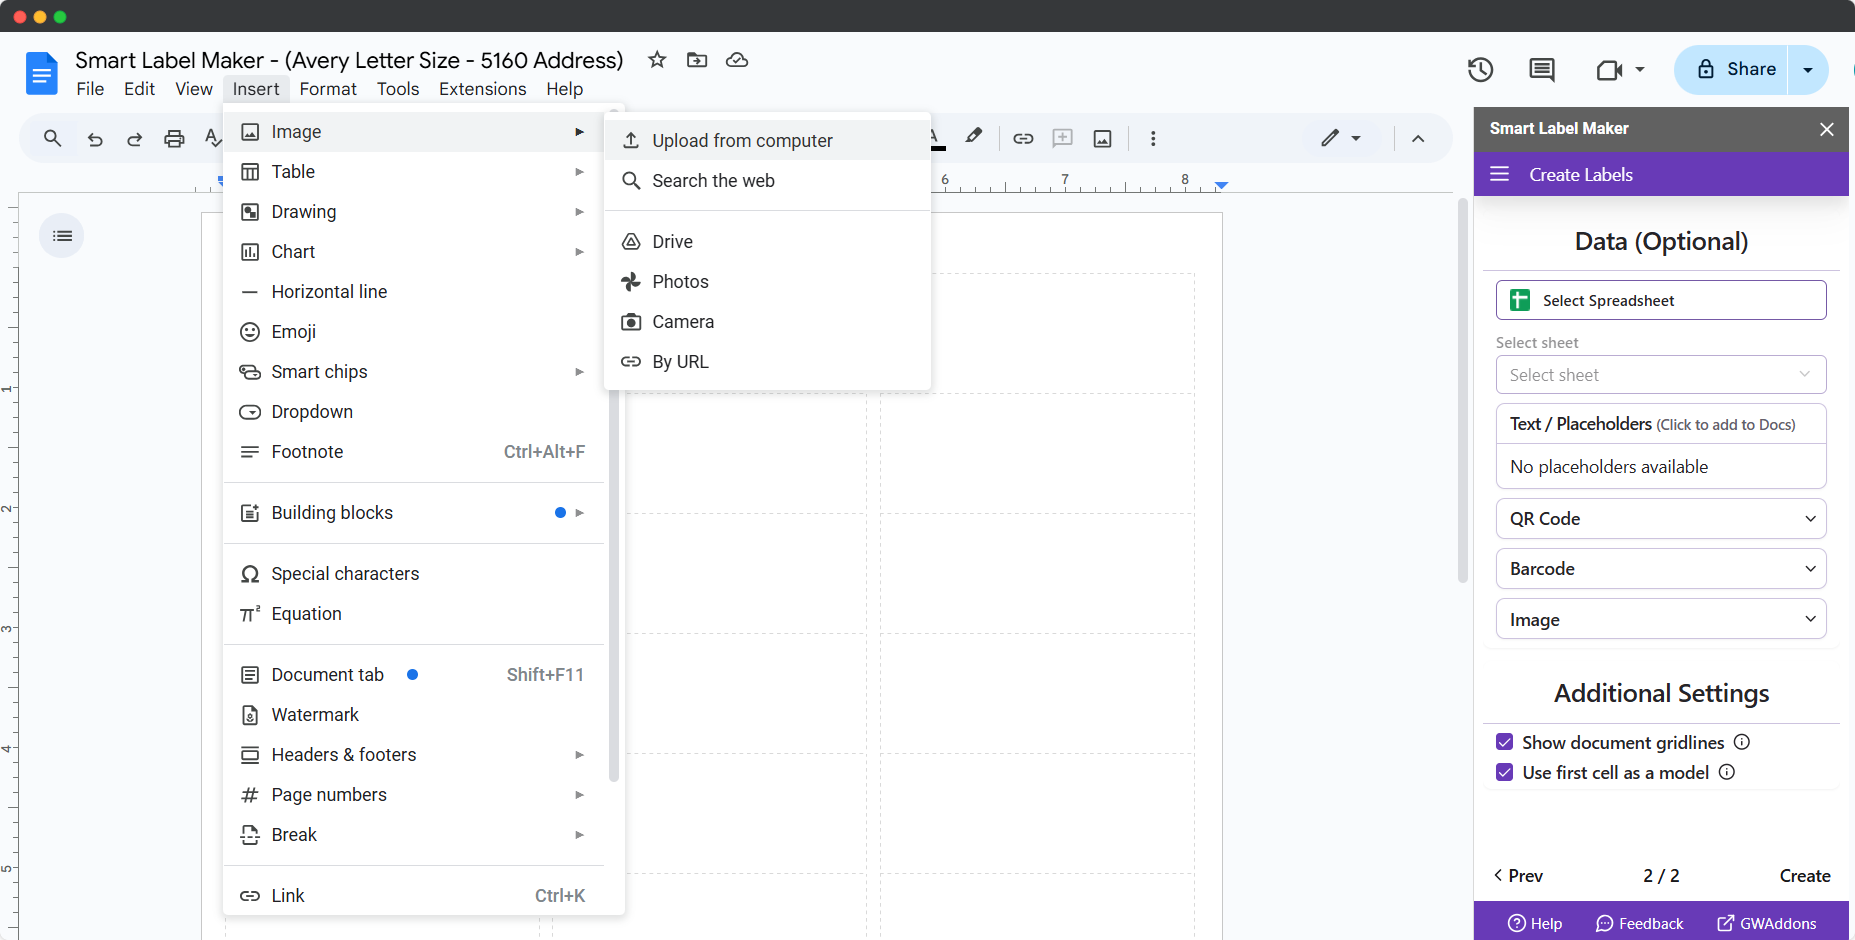
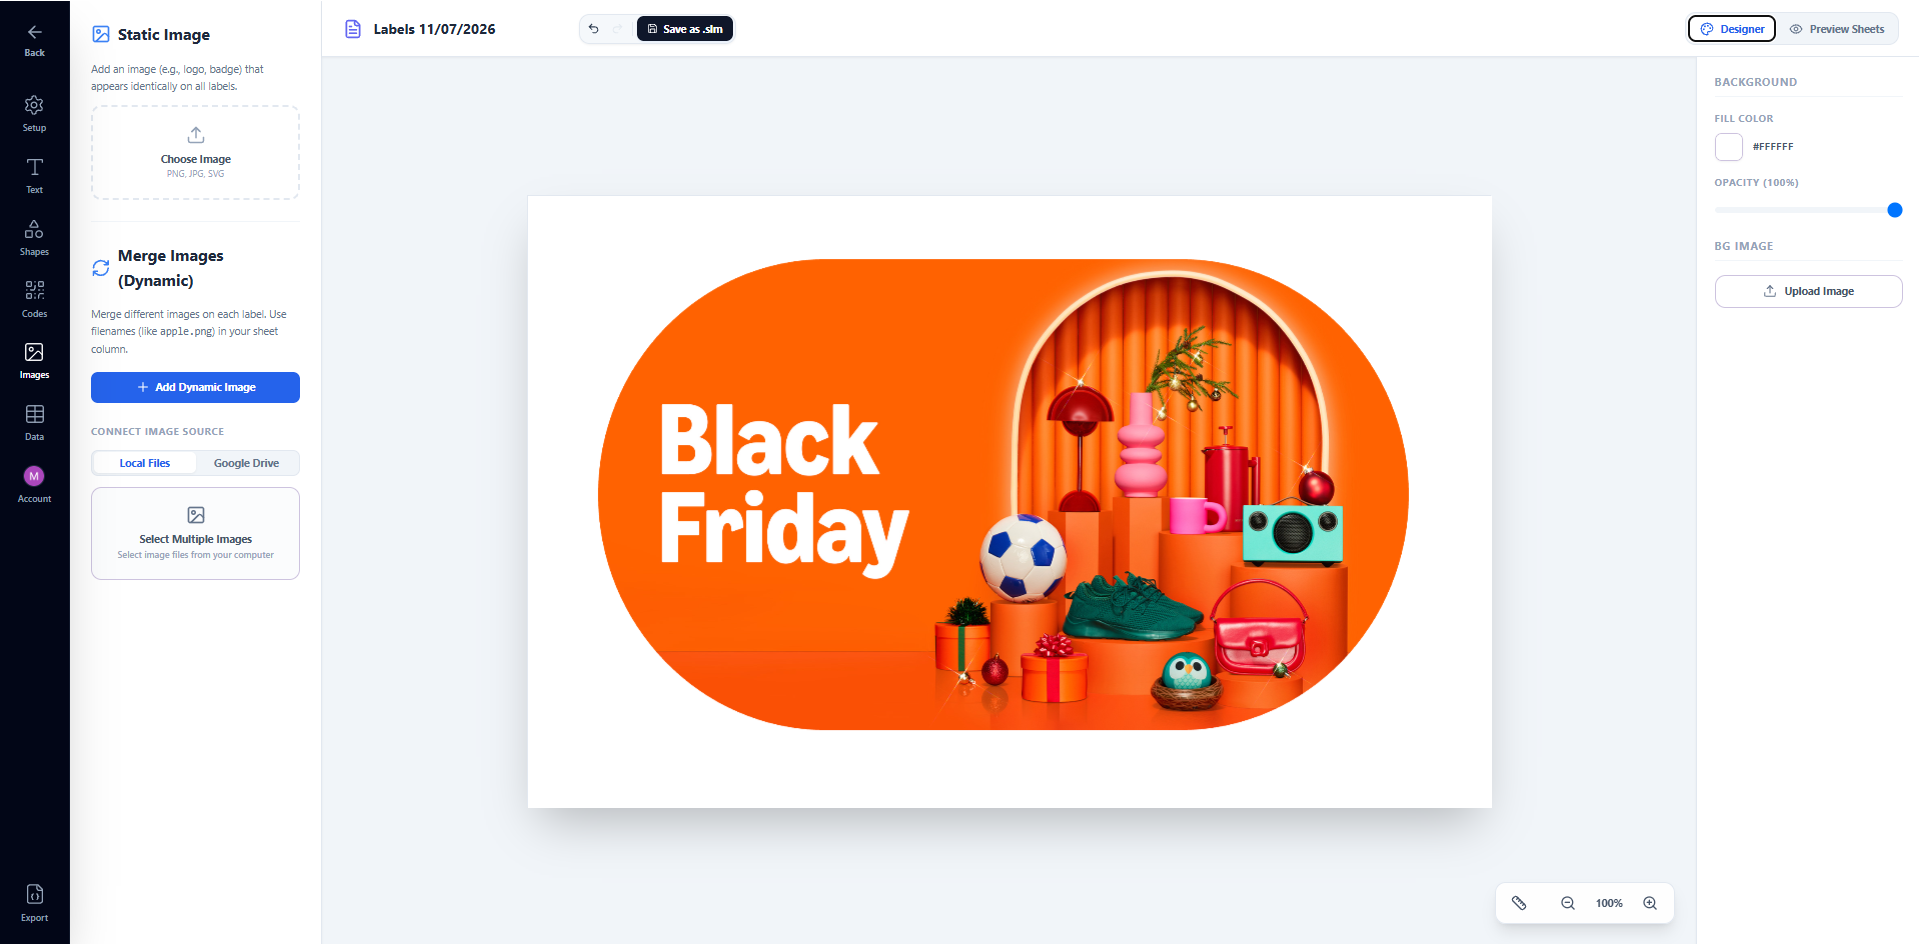
In the designer, click the Images tab in the left sidebar. Under Static Image, click Choose Image and select a PNG, JPG, or SVG file from your computer.
The image will appear on the canvas immediately. Static images are ideal for logos, badges, or any graphic that should look the same on every label.
3. Position and style the image
Once the image is on the canvas, click it to select it. You can then:
- Drag it to reposition it anywhere on the label
- Resize it by dragging the corner handles
- Adjust opacity using the opacity field in the right panel
- Add a border using the border width and border color controls in the right panel
- Round the corners using the corner radius slider — drag it all the way to 50% for a perfect circle crop
Make sure the image stays within the label boundary shown on the canvas so it is not clipped in the final PDF.
4. Preview, export and print
Click Preview Sheets in the top bar to see the full label sheet with your logo on every label. When satisfied, click the Export tab and choose Download PDF or Save to Drive. Open the PDF and print at 100% Actual Size with margins set to None.
Part 2 — Dynamic image (different image per label)
Use this when each label needs a different image — for example a product photo, a profile picture, or an item thumbnail that changes per row in your spreadsheet.
For this to work your spreadsheet needs a column containing the filename of the image for each row — for example:
| Name | Phone | ImageFile |
|---|---|---|
| John Smith | +1 (555) 000-1234 | john.png |
| Jane Doe | +1 (555) 000-5678 | jane.png |
Smart Label Maker matches each row’s filename to the correct image file and places it on that label automatically.
- Open and select a template
- Connect your spreadsheet
- Add a dynamic image placeholder
- Connect your image source
- Bind the image column
- Combine with text
- Preview, export and print
1. Open and select a template
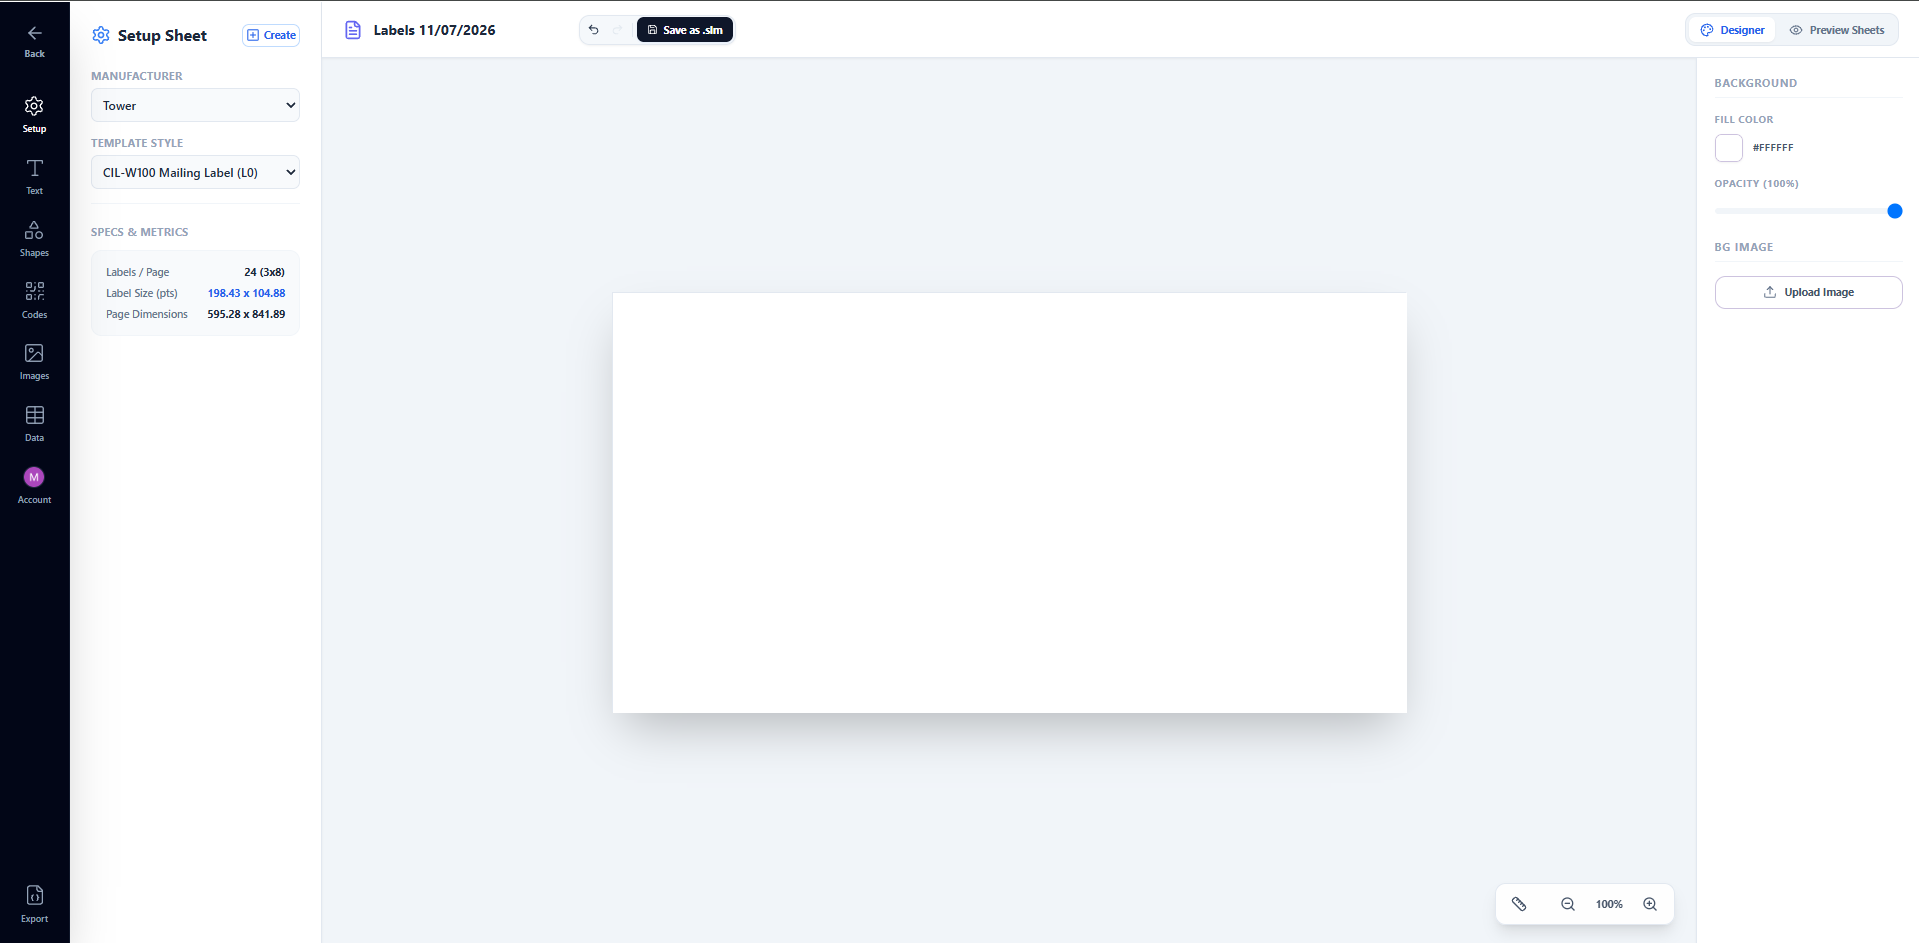
Open Smart Label Maker and select a template from the dashboard the same way as in Part 1.
2. Connect your spreadsheet
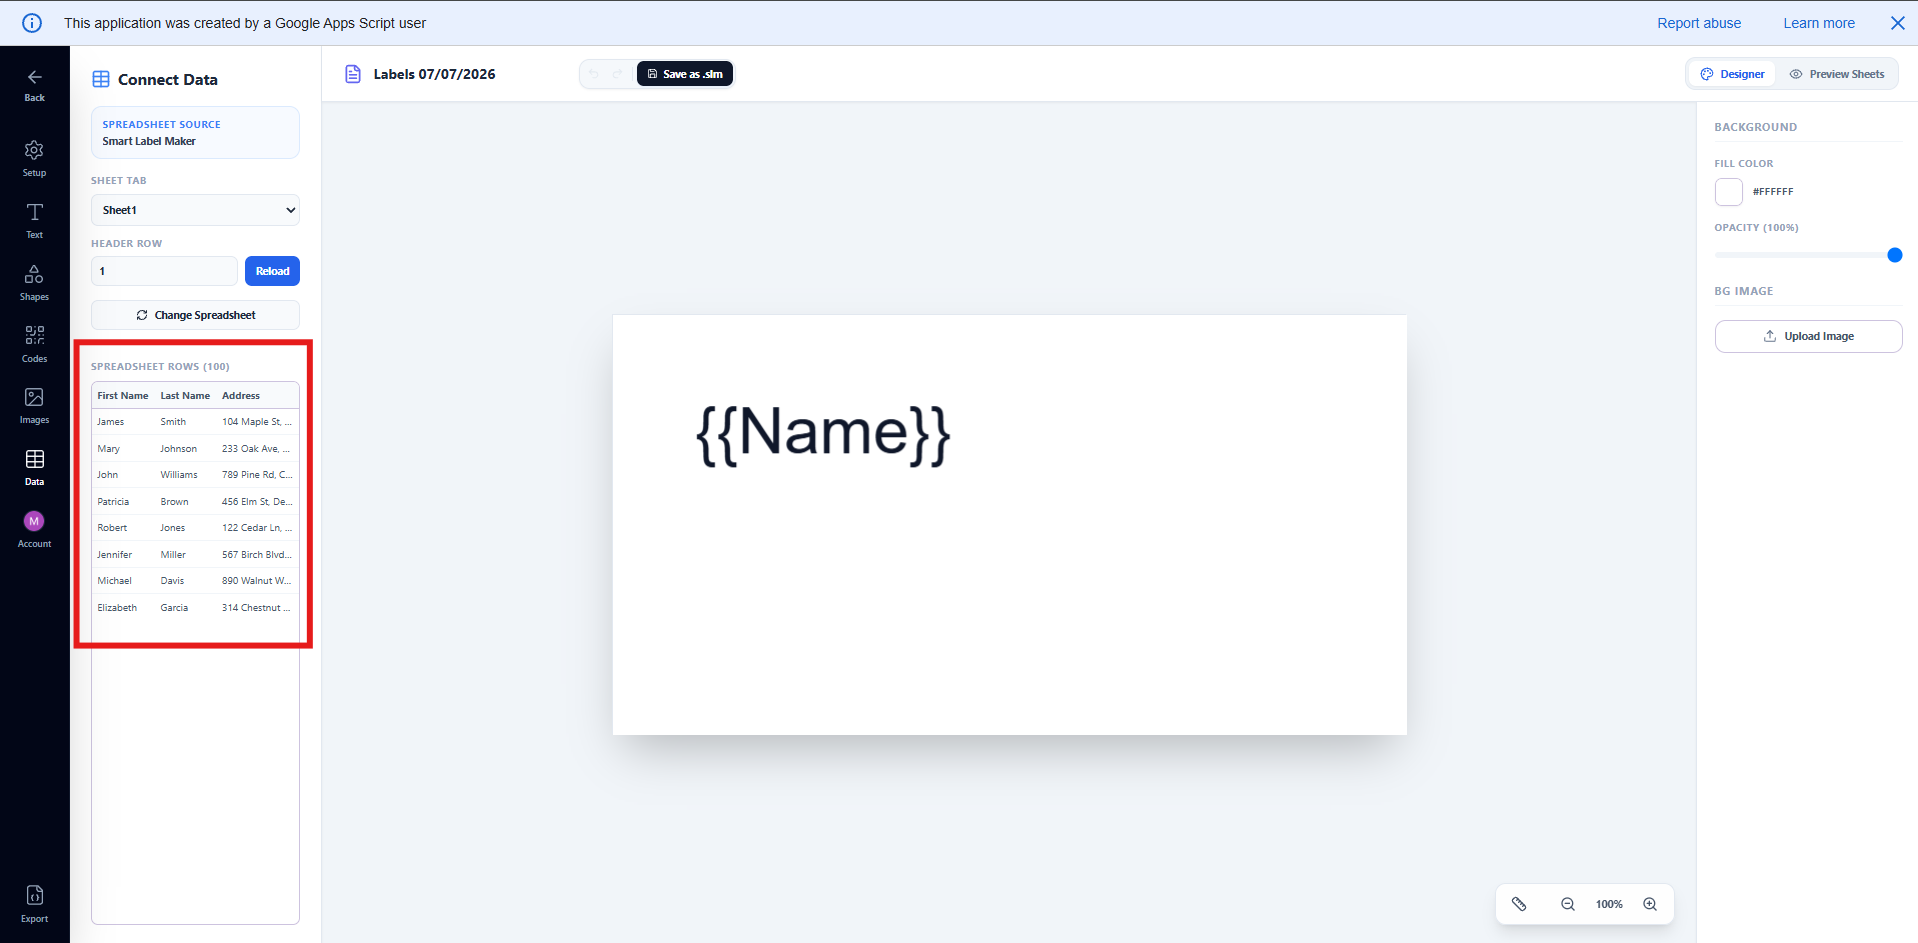
Click the Data tab in the left sidebar and connect your spreadsheet.
- Opened from Google Sheets — your sheet is already connected automatically. Confirm your column headers are visible in the Data tab.
- Opened from Google Drive — click Select Spreadsheet, pick your Google Sheet from the file picker, and Smart Label Maker will load your columns and rows.
Make sure your spreadsheet has a column containing the image filenames
(e.g. ImageFile) alongside your other data columns.
3. Add a dynamic image placeholder
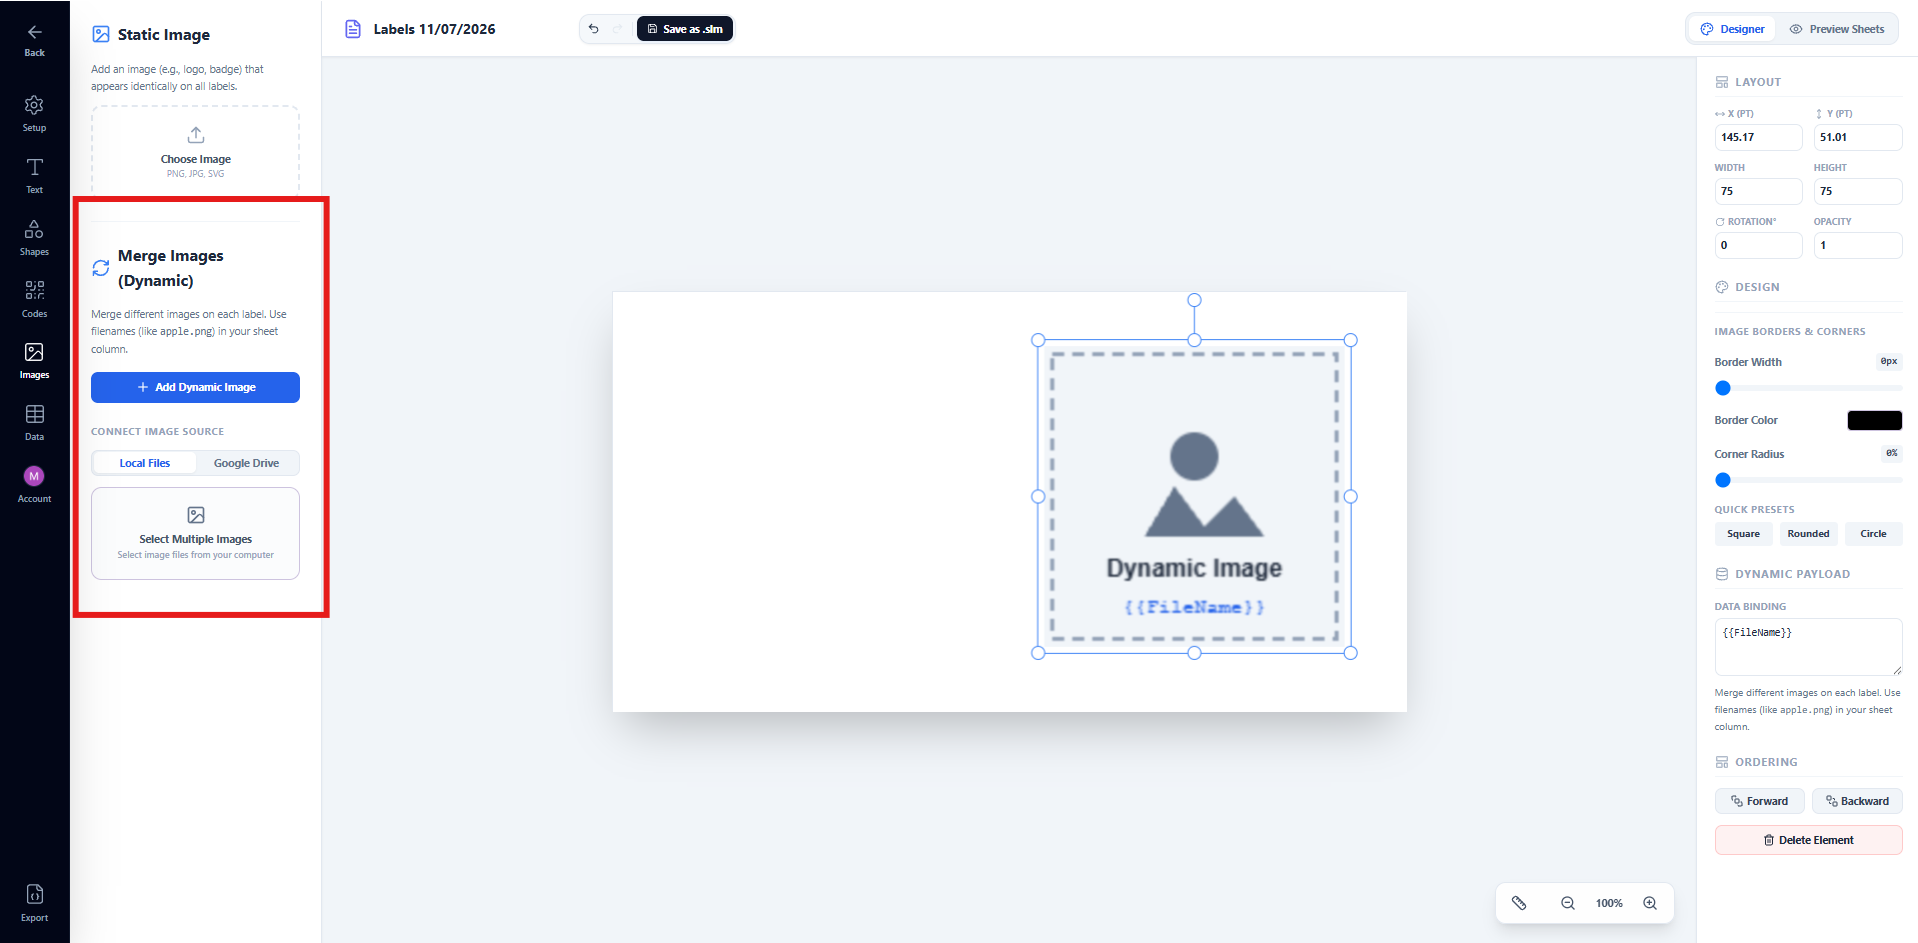
Click the Images tab in the left sidebar. Under Merge Images (Dynamic),
click Add Dynamic Image. A placeholder will appear on the canvas showing
a grey image box with the label {{FileName}}.
This placeholder represents where each label’s unique image will appear in the final PDF. You can drag and resize it just like any other element on the canvas.
4. Connect your image source
Smart Label Maker needs to know where to find your image files. In the Images tab under Connect Image Source, choose one of two options:
Local Files — click Select Multiple Images and choose all your image files from your computer at once. Smart Label Maker loads them into memory for the session and matches them by filename to your spreadsheet column values.
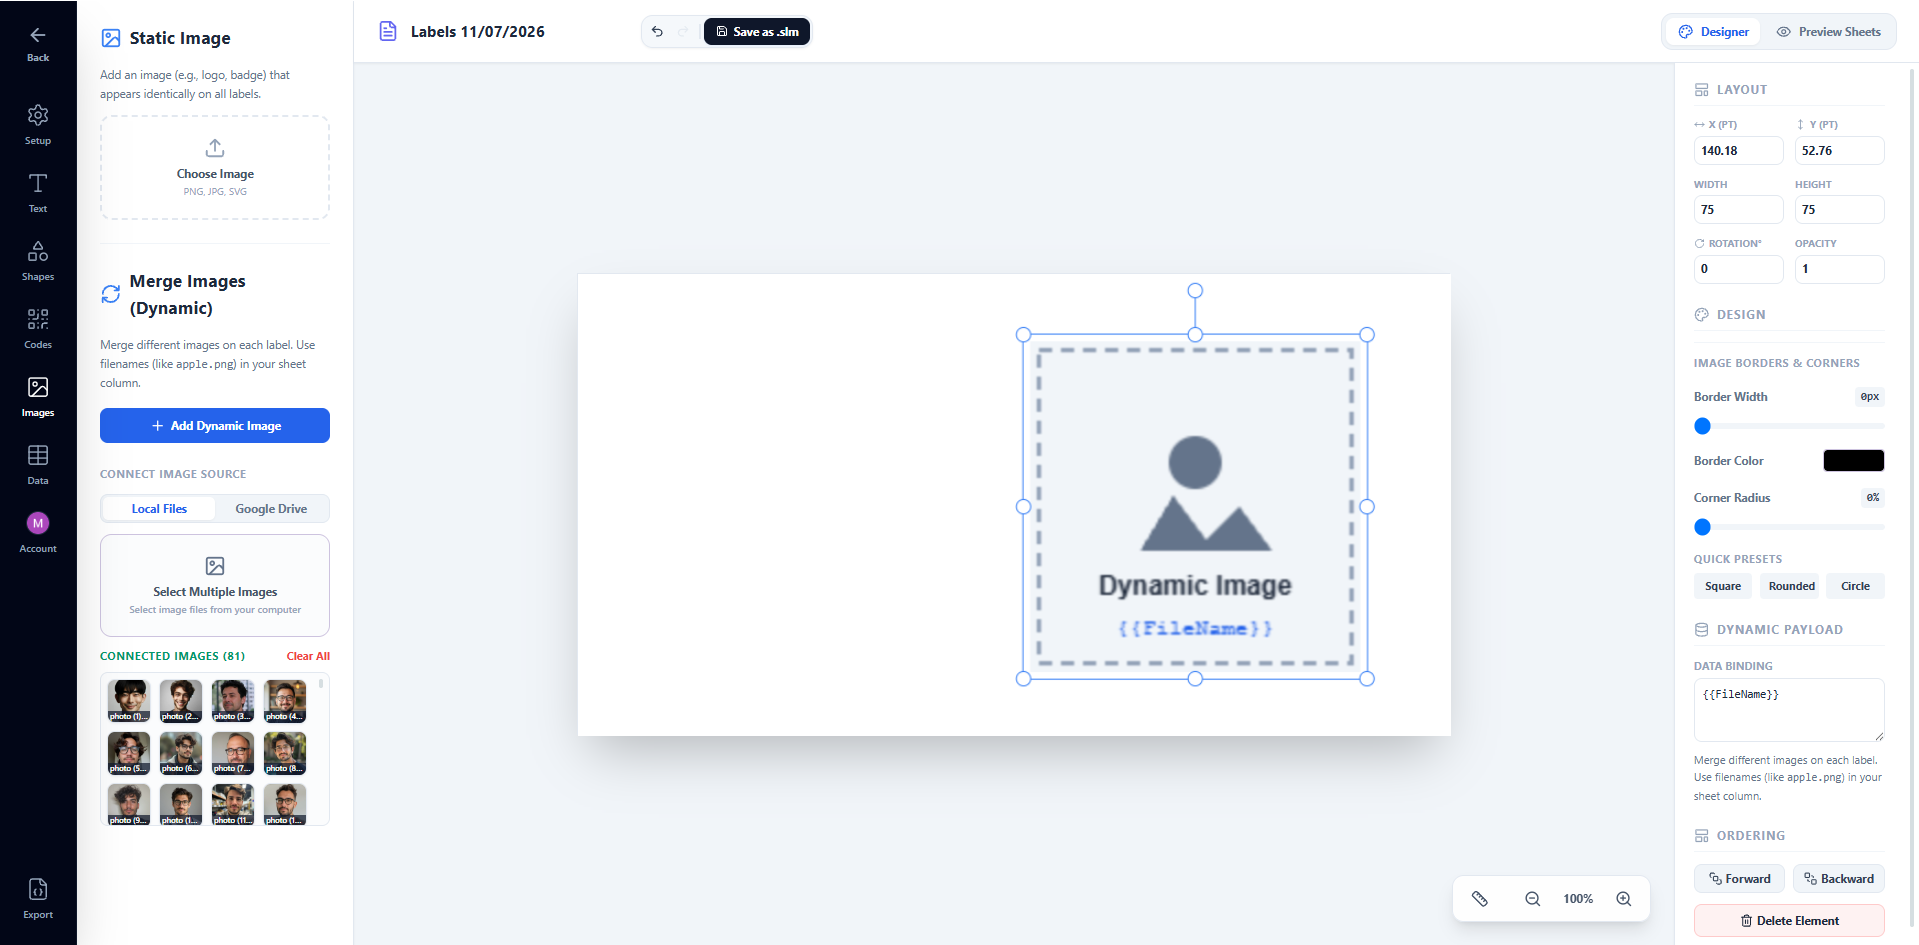
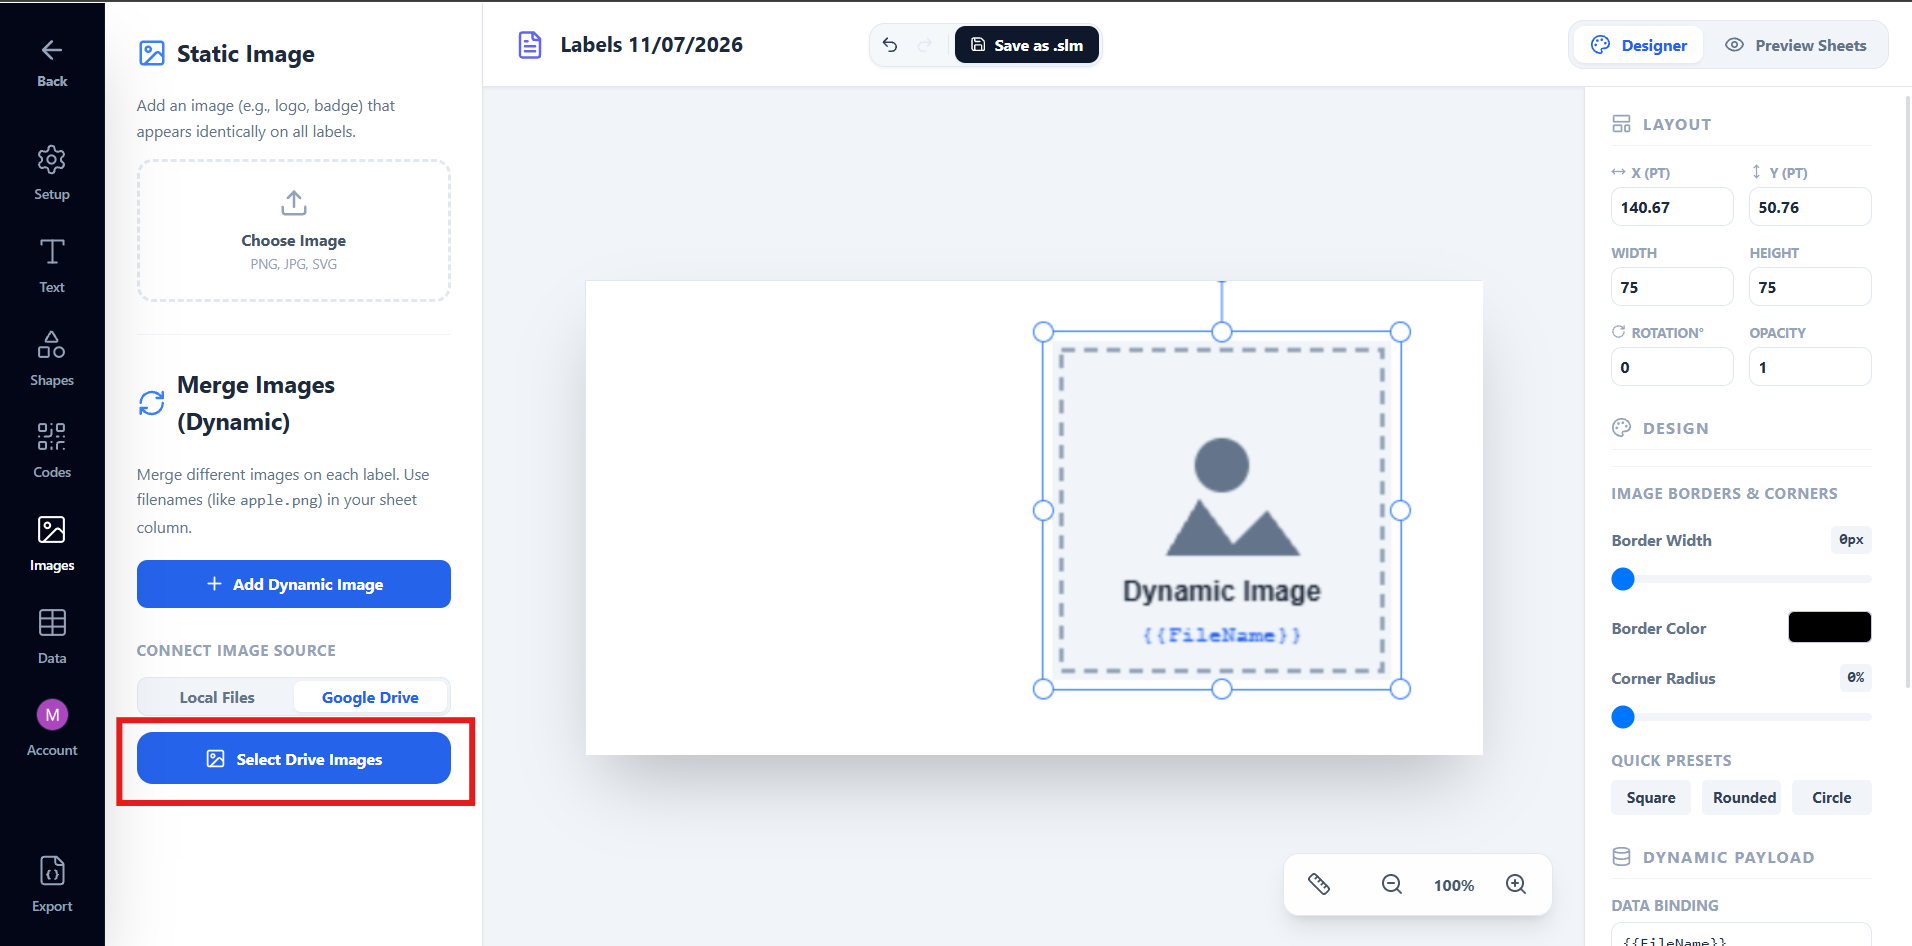
Google Drive — click Select Drive Images and pick your image files directly from Google Drive using the file picker. Smart Label Maker fetches and caches them in the background automatically.
5. Bind the image column
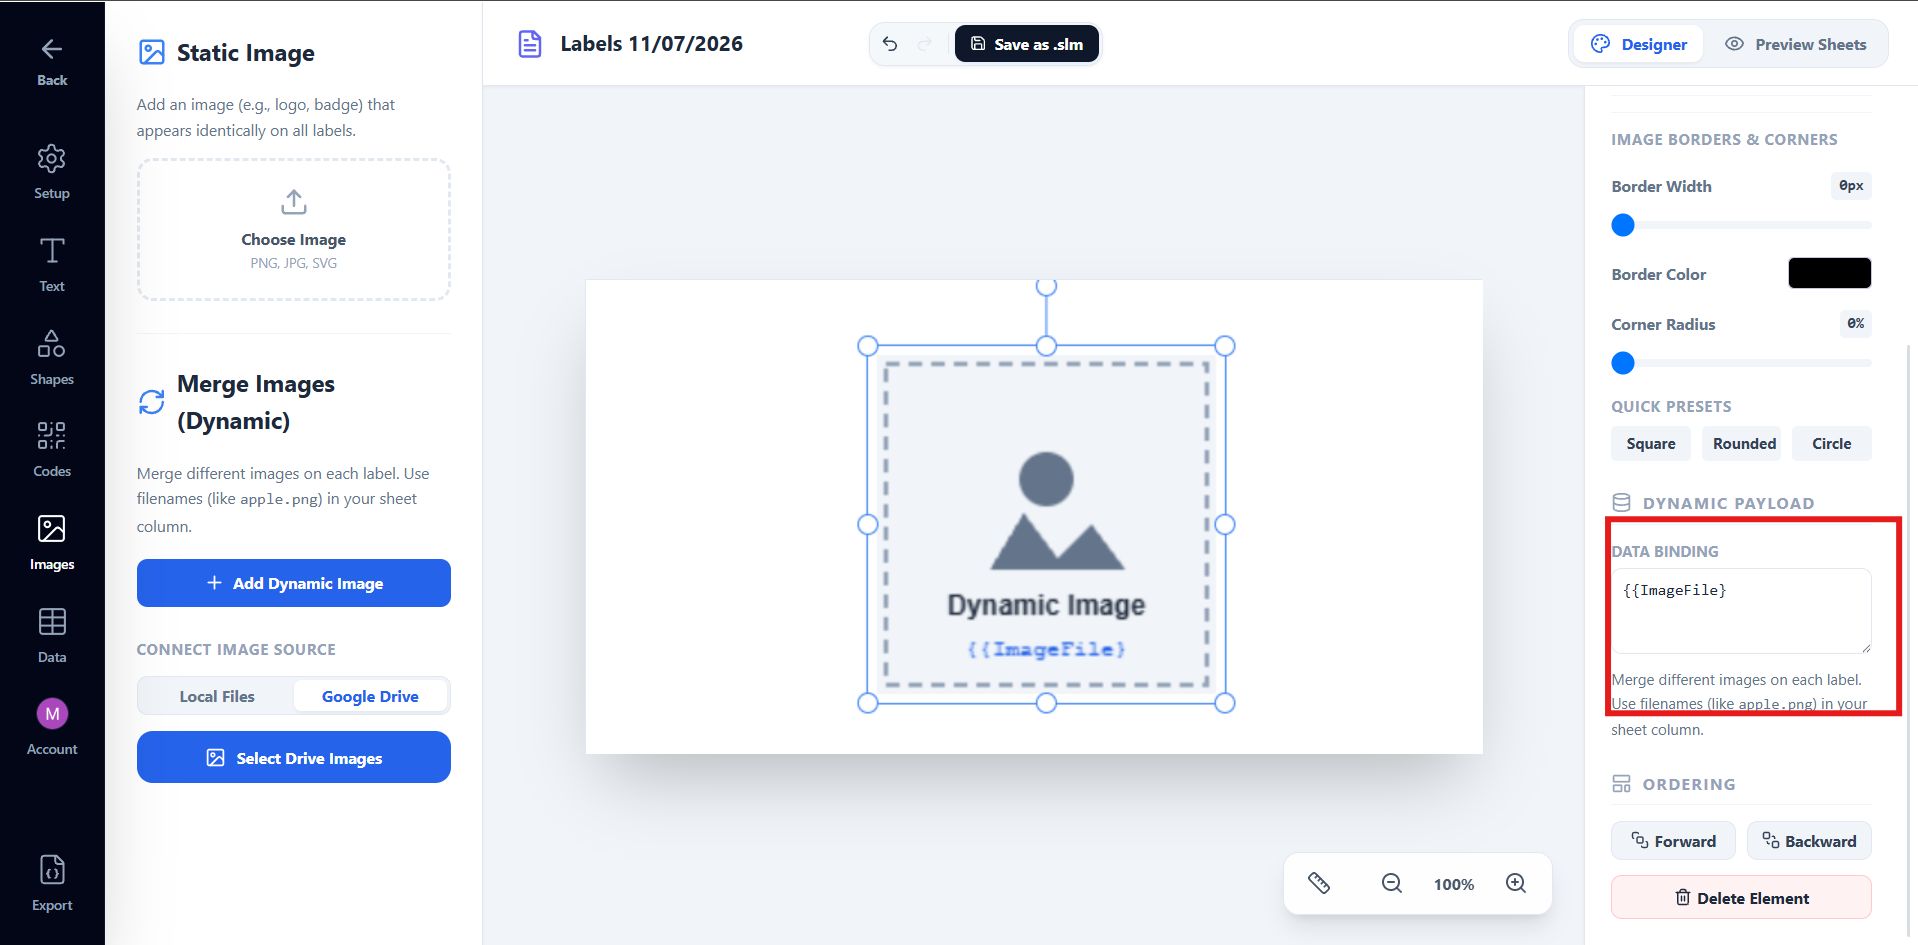
Click the dynamic image placeholder on the canvas to select it. In the
right panel under Dynamic Payload, you will see a Data Binding
field. Change the value from {{FileName}} to the name of your spreadsheet
column that contains the image filenames — for example {{ImageFile}}.
Smart Label Maker will now know to look up the value in the ImageFile
column for each row and match it to the corresponding image file you
connected in the previous step.
6. Combine with text
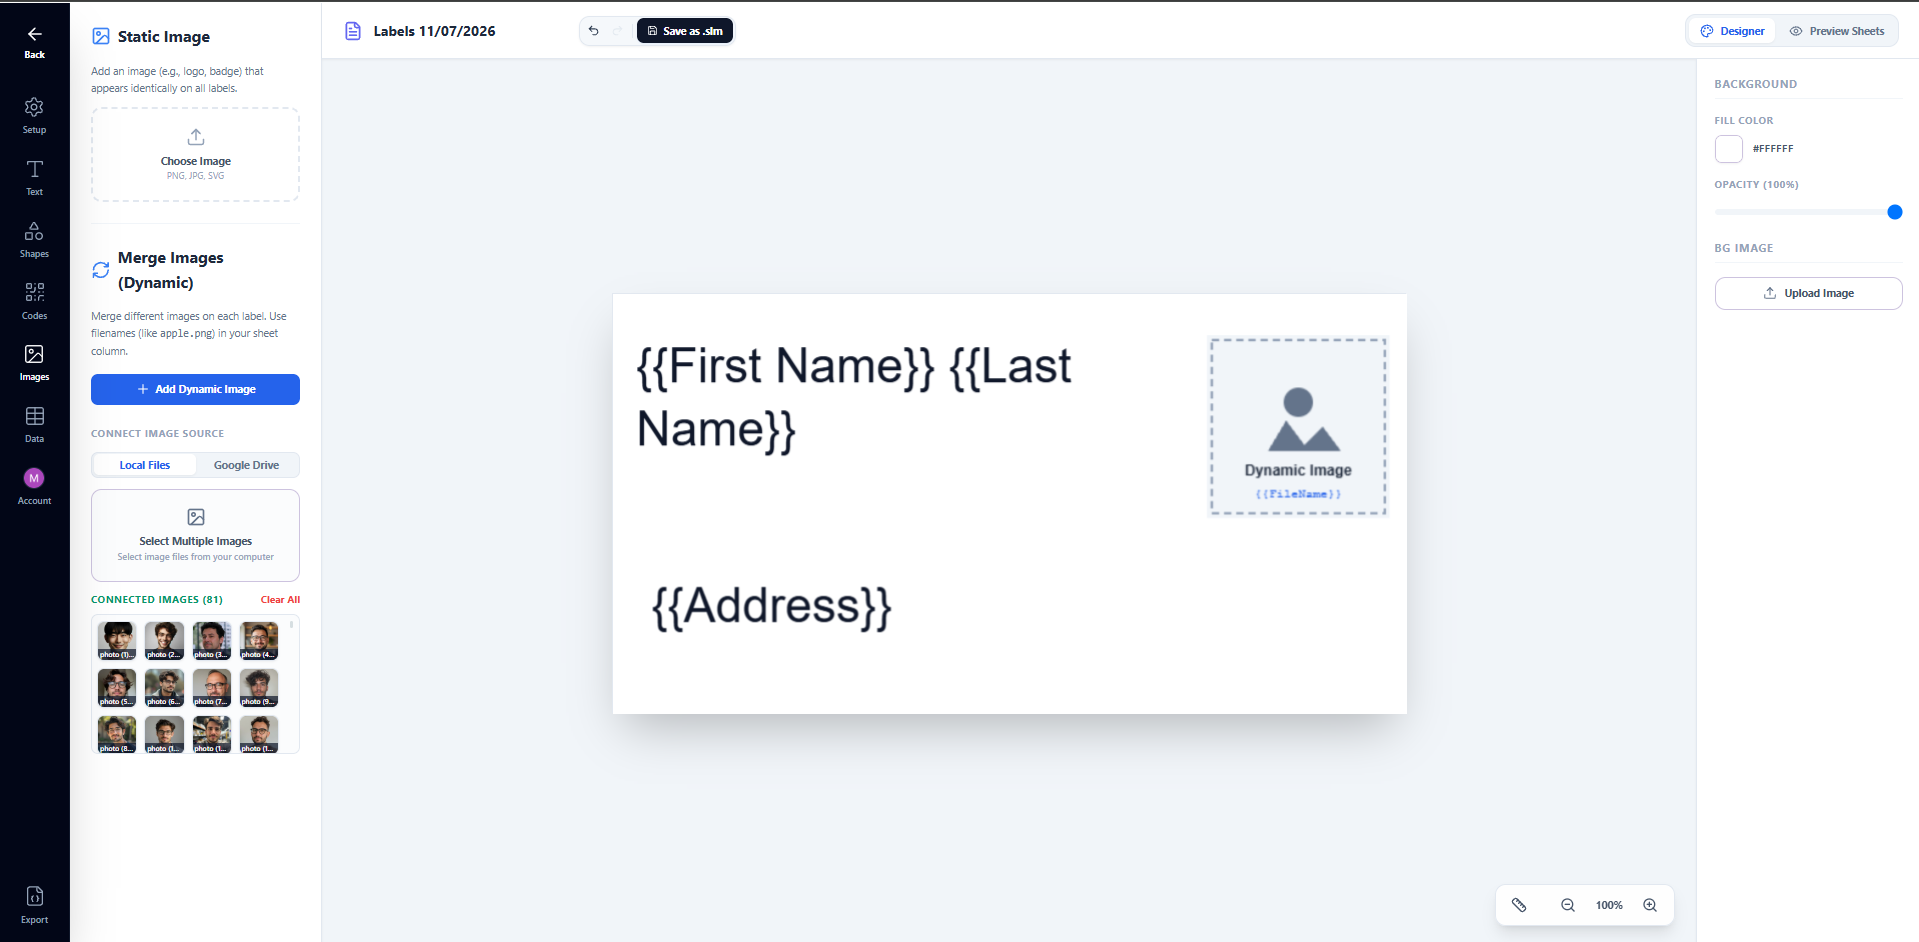
Add text merge fields alongside your dynamic image the same way as in
Part 1. Click the Text tab and use the Spreadsheet Tags buttons
to insert {{First Name}}, {{Last Name}}, {{Phone}}, or any other column as a merge field
on the canvas next to the image placeholder.
7. Preview, export and print
Click Preview Sheets in the top bar. Smart Label Maker will render every label with the correct image and text for each row — so each label shows a different image matched from your spreadsheet.
When satisfied, click the Export tab and choose Download PDF or Save to Drive. Open the PDF and print at 100% Actual Size with margins set to None.
Free plan note: Dynamic images are a Pro feature. On the free plan, exporting a label design that includes dynamic images will add a watermark to the generated PDF. Upgrade to Pro for clean, watermark-free exports.