How to make Black Friday labels in Google Sheets
The year’s biggest shopping event is coming and you want to print your own Black Friday labels and price tags? This guide teaches you how to design and print Black Friday labels using Smart Label Maker.
The simplest way to create Black Friday labels is to upload your own Black Friday sale image or logo — for example a banner, sticker design, or promotional graphic you already have — and let Smart Label Maker repeat it across a full sheet of labels ready to print.
🛍 How to make Black Friday labels:
- Open Smart Label Maker
- Select a template
- Upload your Black Friday image
- Fit the image to the label
- Preview your labels
- Generate PDF
- Print your Black Friday labels
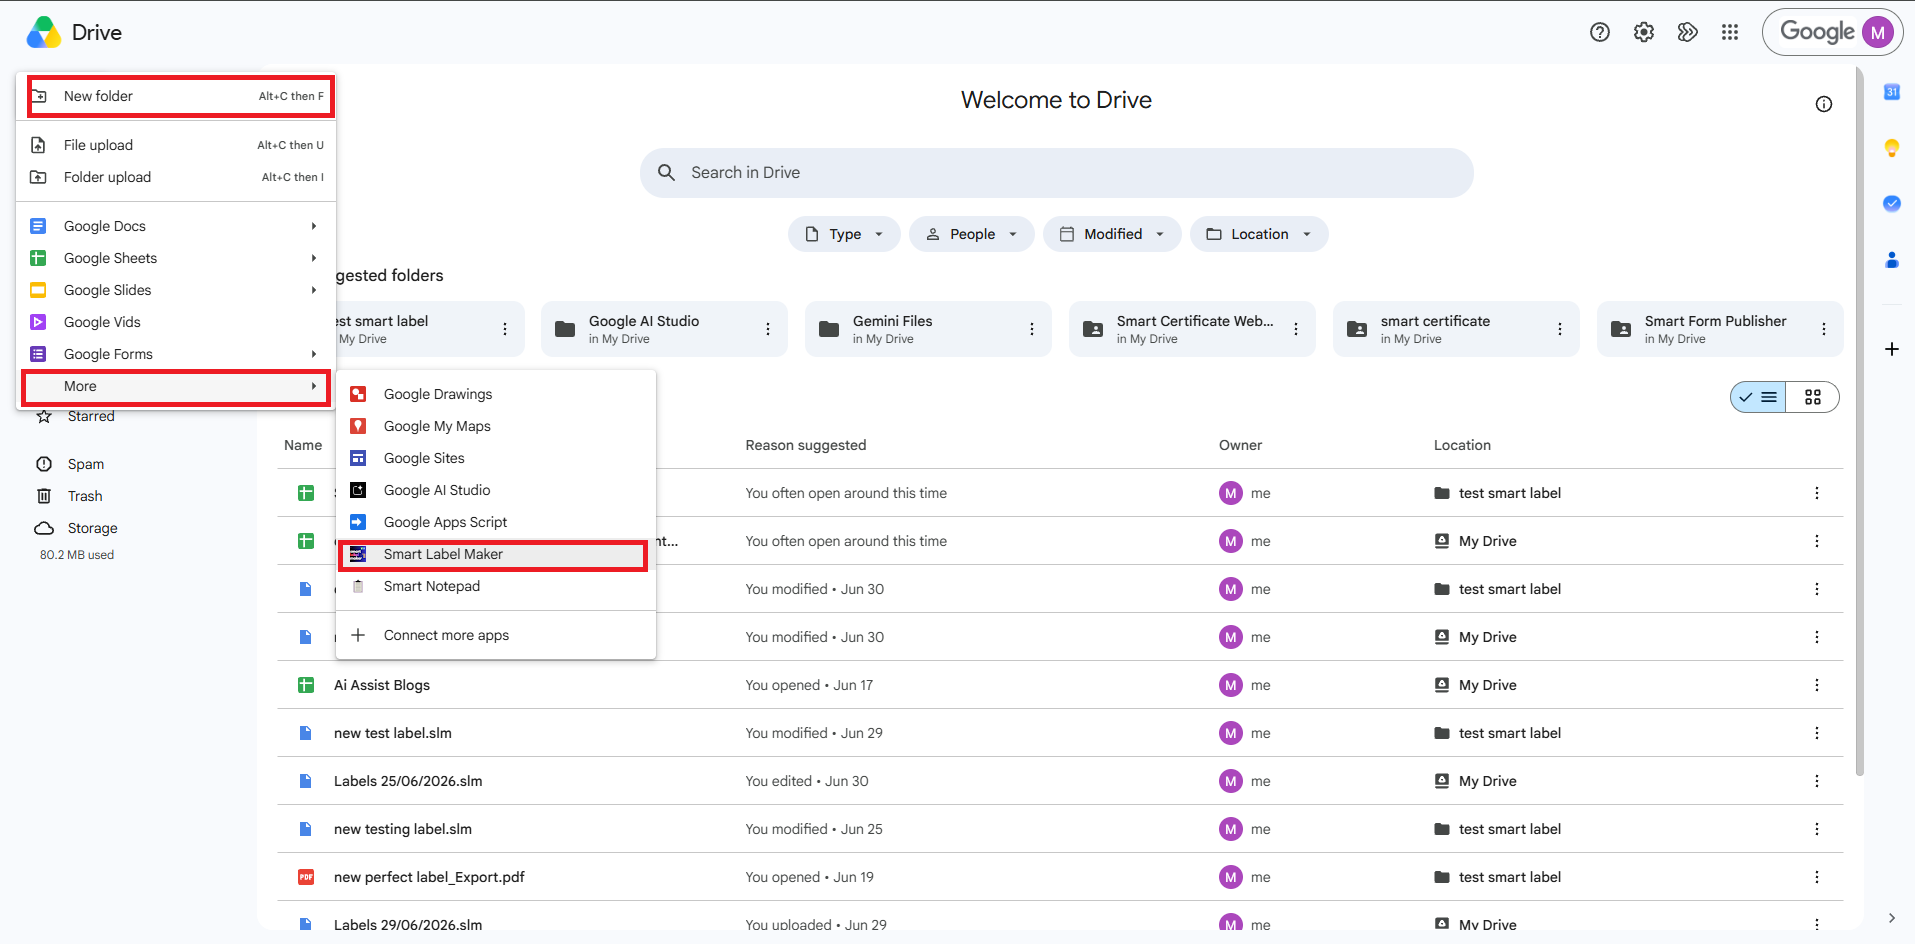
1. Open Smart Label Maker
Open Smart Label Maker from Google Sheets or Google Drive. If you are not sure how to do this, see our guide on how to open Smart Label Maker.
2. Select a template
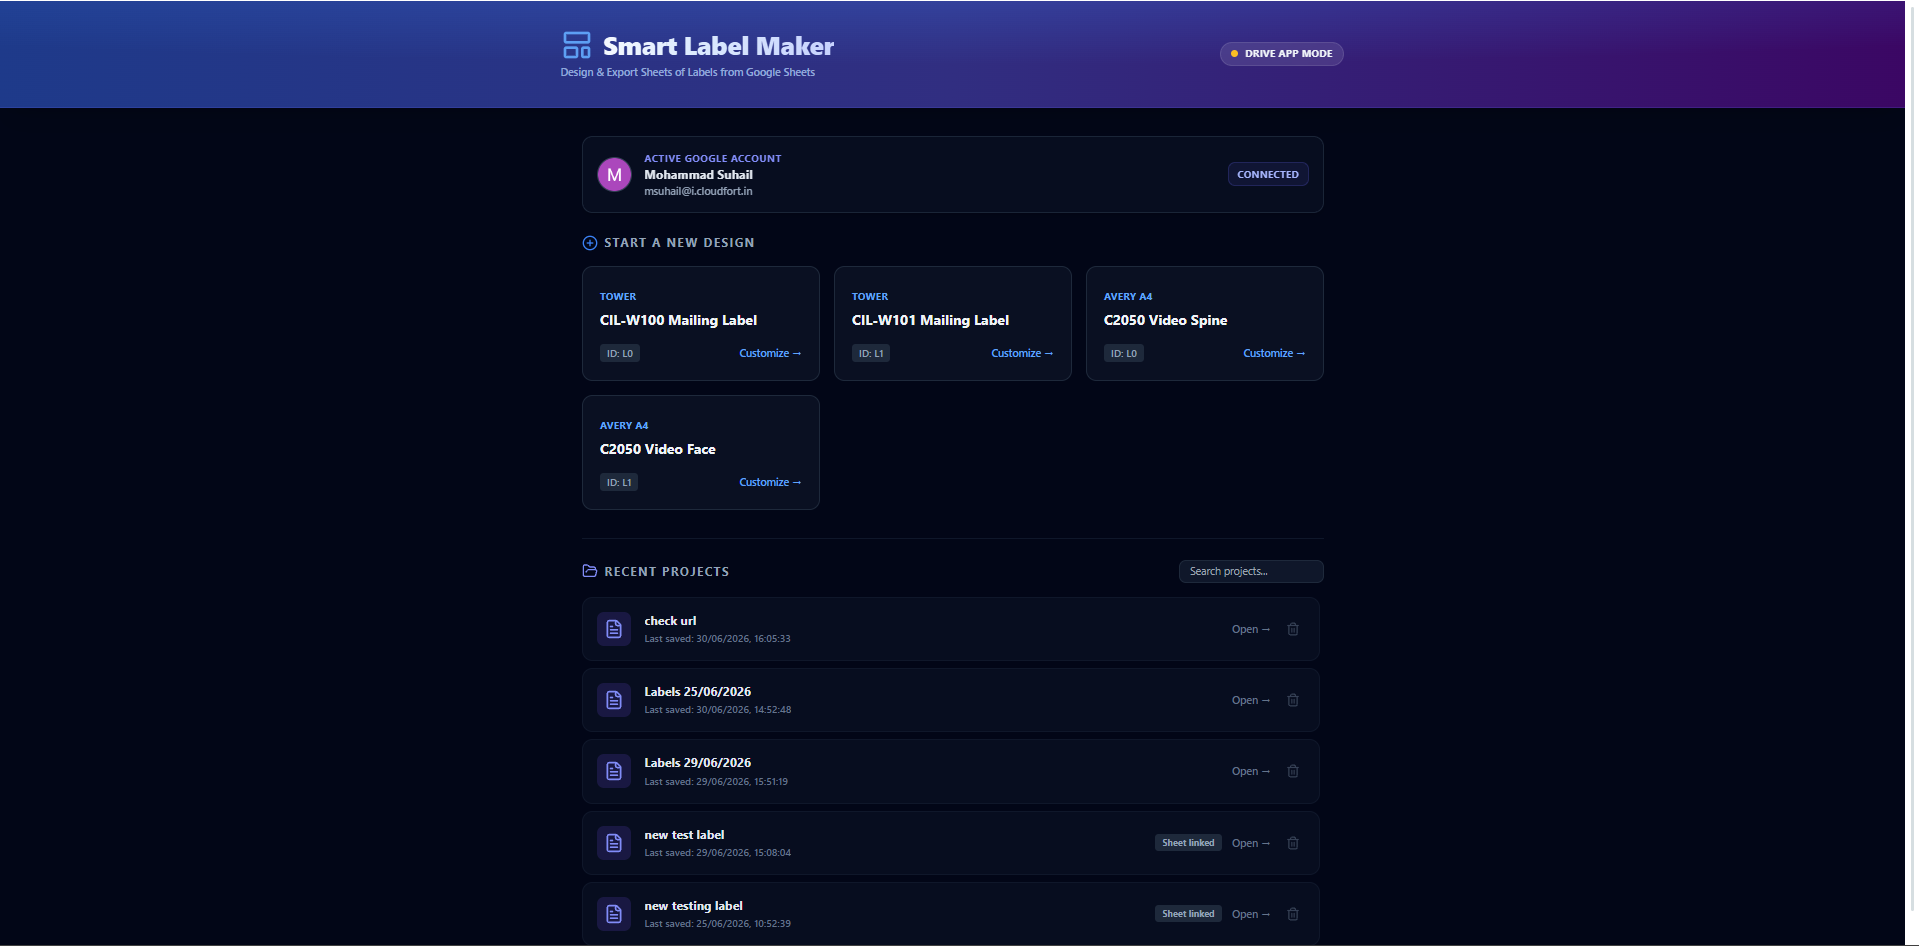
On the dashboard, click any template card from the Start a New Design grid that matches your physical label sheet. For Black Friday sale labels a square or rectangular label works best so your image fills the space nicely.
Over 5000+ templates are available across Avery® US Letter, Avery® A4, Avery® Zweckform, and Herma. If none match your label sheet, click Create in the Setup panel to enter your own custom dimensions.
3. Upload your Black Friday image
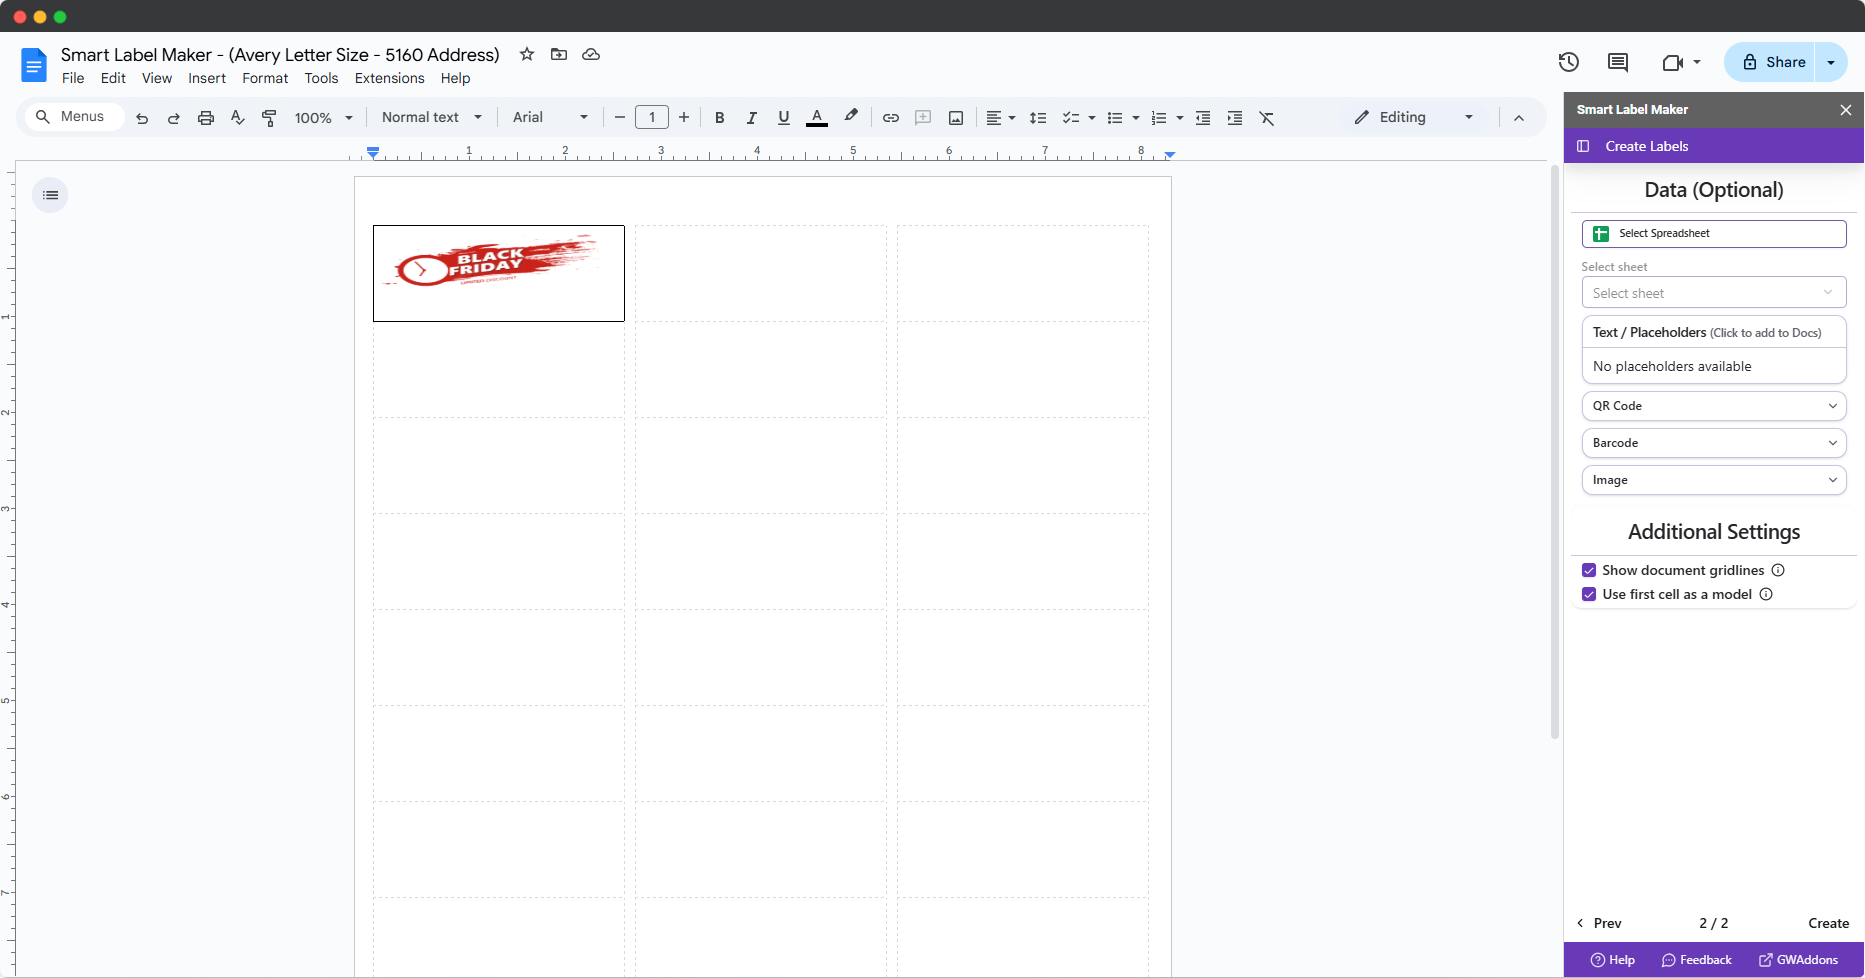
In the designer, click the Images tab in the left sidebar. Under Static Image, click Choose Image and select your Black Friday sale image from your computer — this can be a PNG, JPG, or SVG file.
This could be:
- A Black Friday sale banner or promotional graphic you designed
- Your store logo with a Black Friday discount overlay
- A price tag sticker design you created in another tool
The image will appear on the canvas immediately.
4. Fit the image to the label
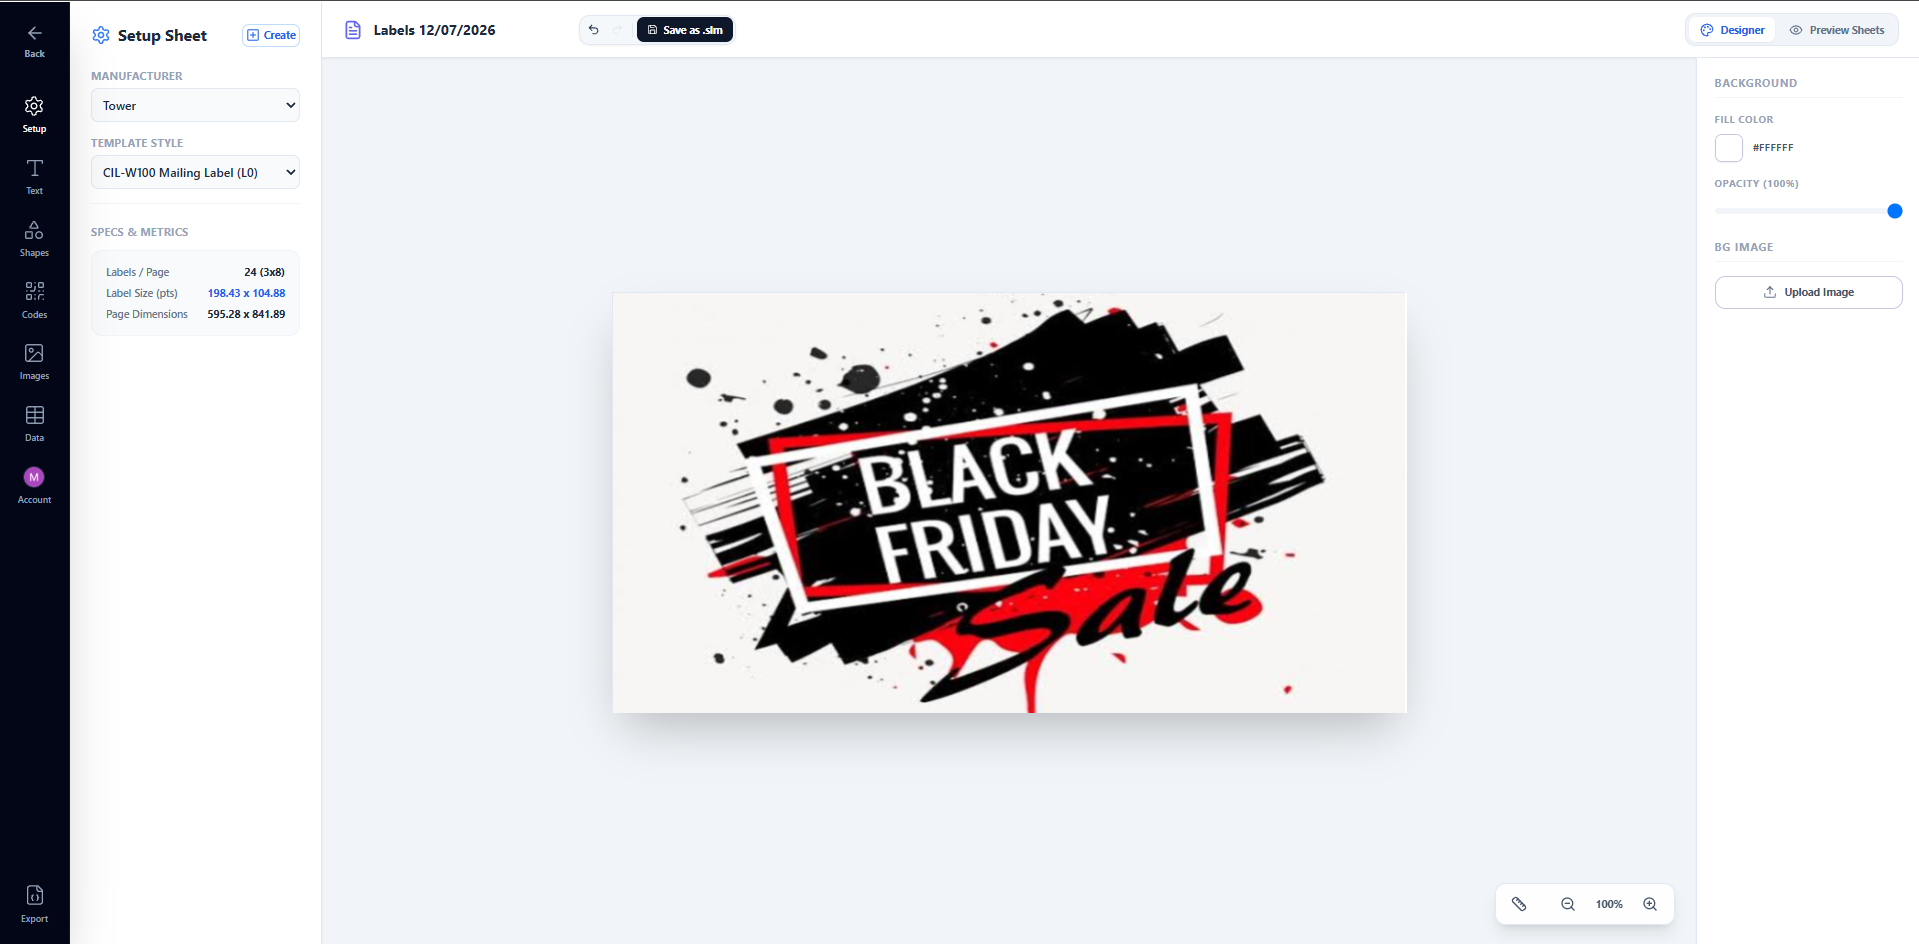
Click the image on the canvas to select it. Drag the corner handles to resize it so it fills the label area completely. You can also:
- Reposition it by dragging it around the canvas
- Set it as the background using the background image upload in the right panel if you want it to fill the label edge to edge — set the fit mode to Fill for a full bleed effect
- Add text on top by clicking the Text tab and placing a text box over the image if you want to add a price or product name on top of your graphic
Make sure nothing extends beyond the label boundary shown on the canvas so the image is not clipped in the final PDF.
5. Preview your labels
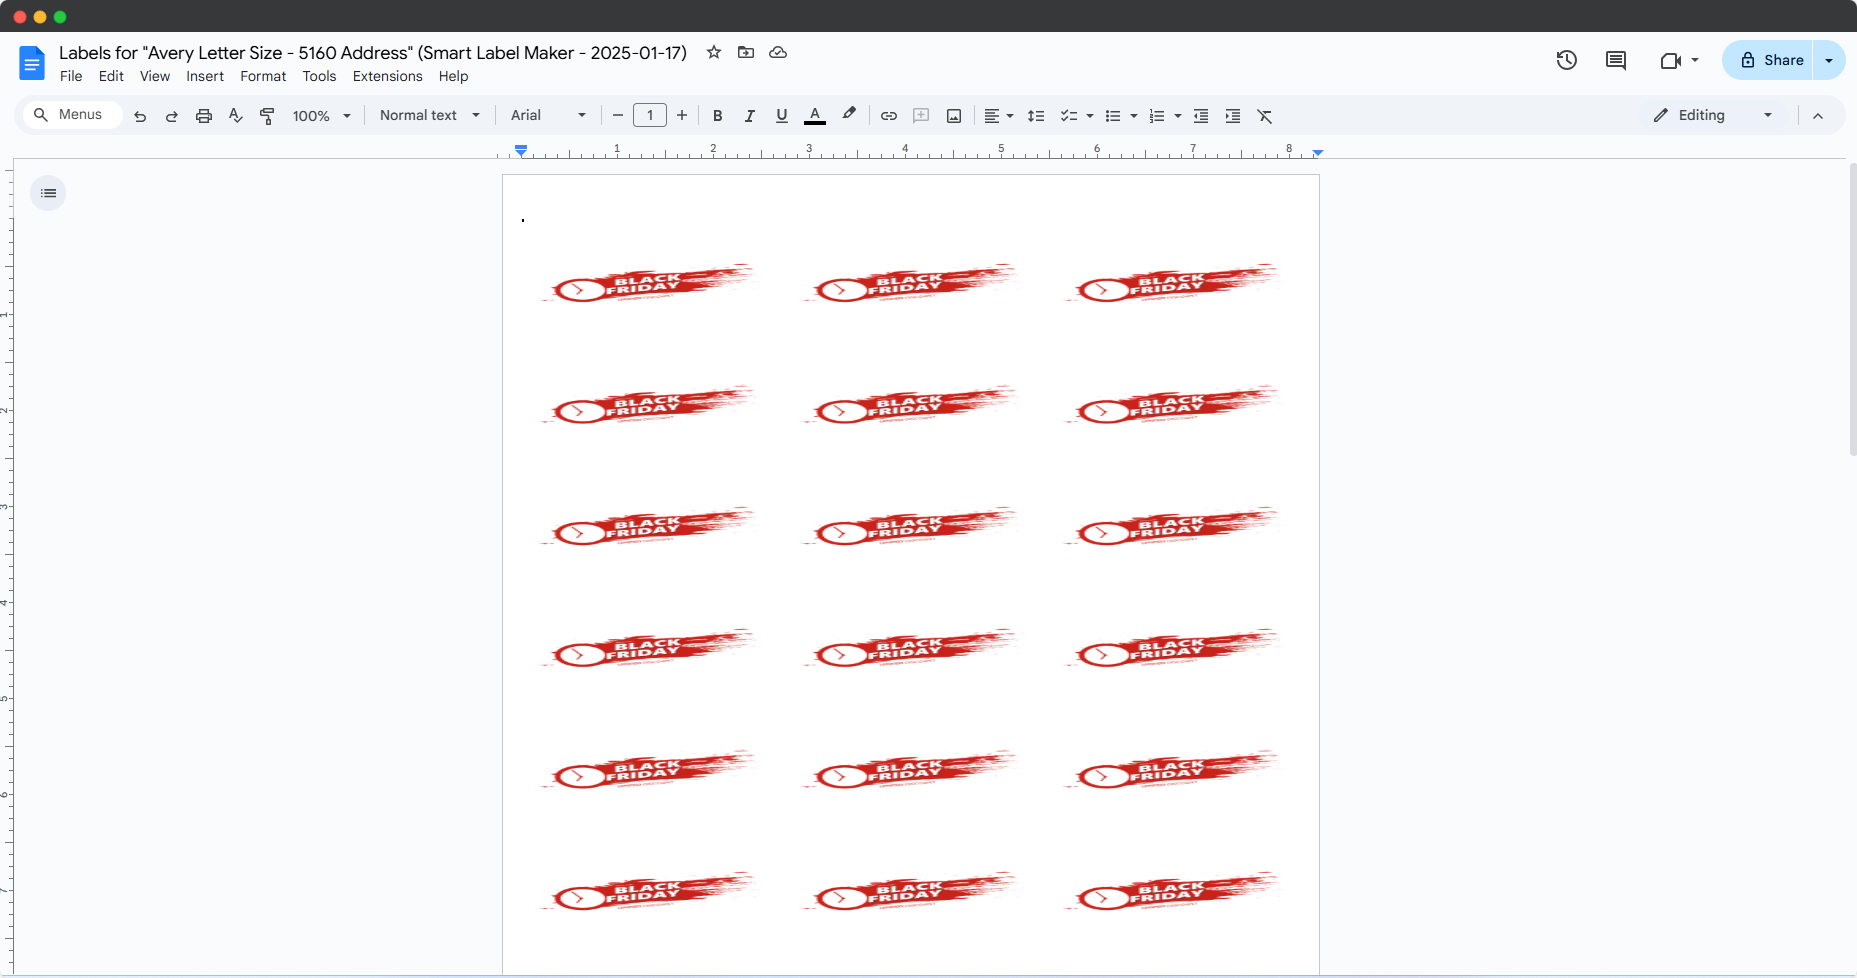
Click Preview Sheets in the top bar to switch to a live full-page preview. Smart Label Maker will show you exactly how the full sheet of labels will look when printed — your Black Friday image repeated across every label position on every page.
Confirm the image is correctly sized and positioned on every label. Click Designer in the top bar to return and make any adjustments.
6. Generate PDF
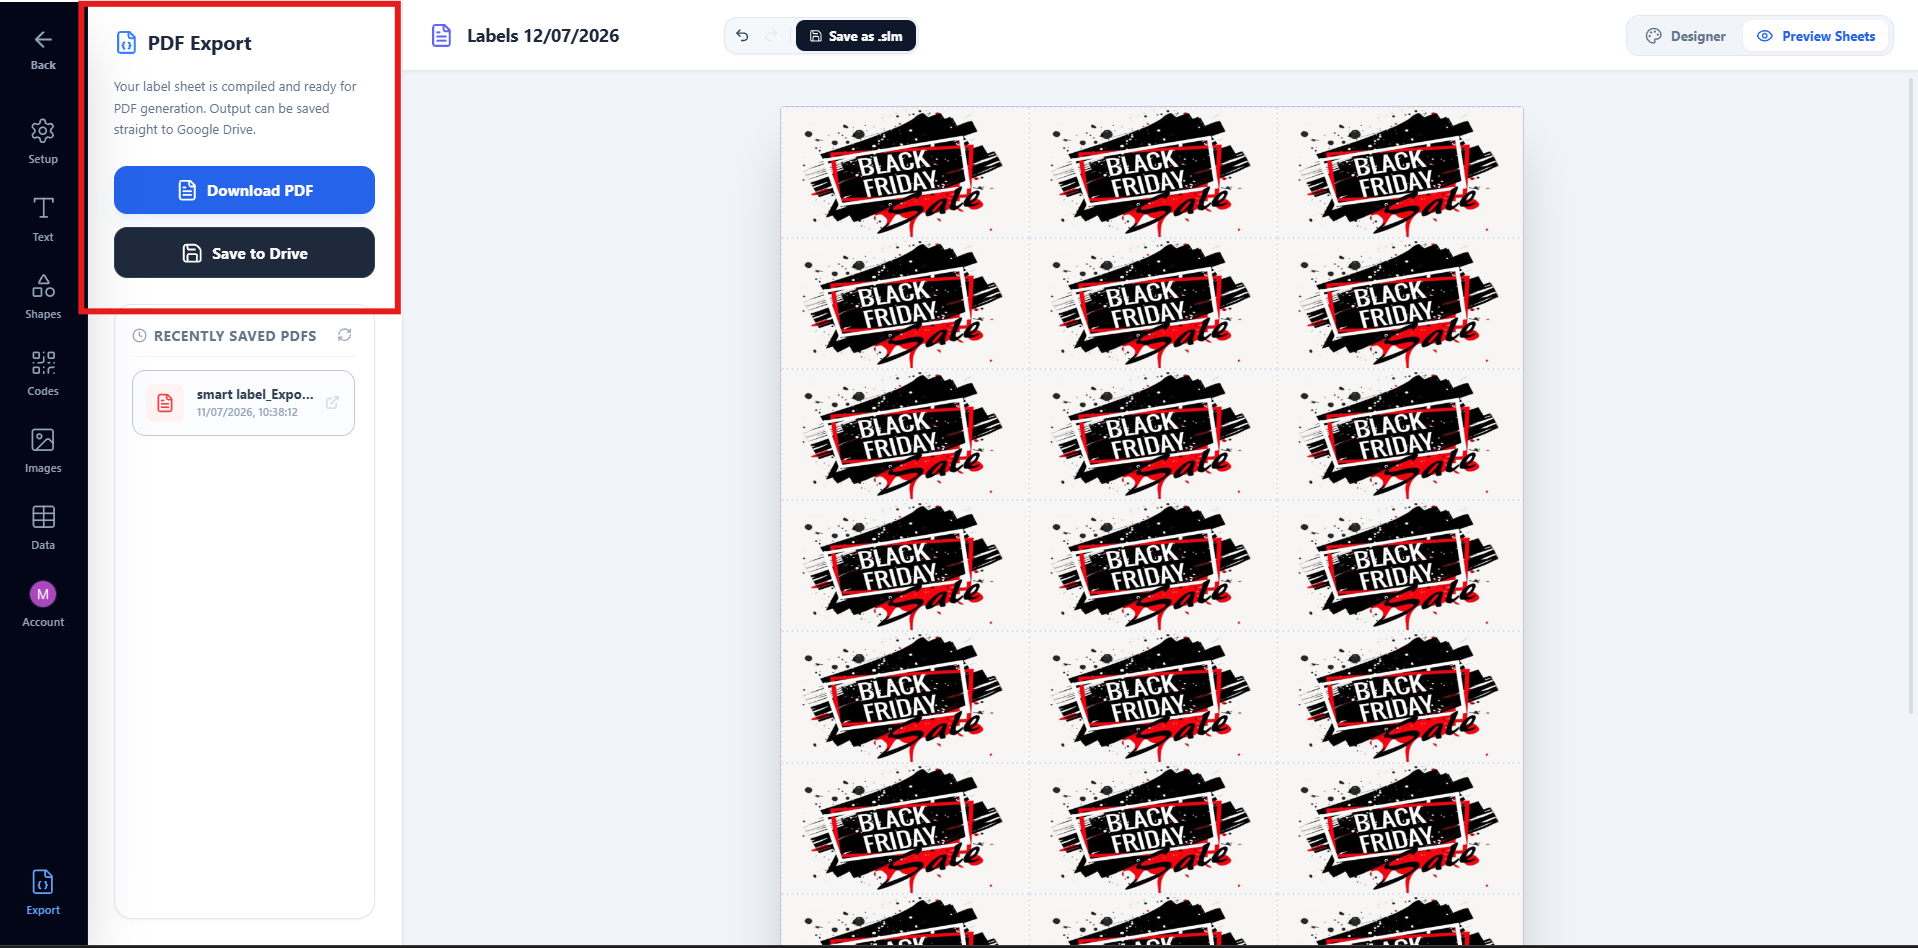
Click the Export tab in the left sidebar. You have two options:
Download PDF — generates the complete label sheet and downloads it directly to your computer.
Save to Drive — generates the PDF and saves it to your Google Drive with an instant access link.
Free plan note: Free accounts are limited to 20 labels per export and 3 exports per day. Upgrade to Pro for unlimited labels and exports.
7. Print your Black Friday labels
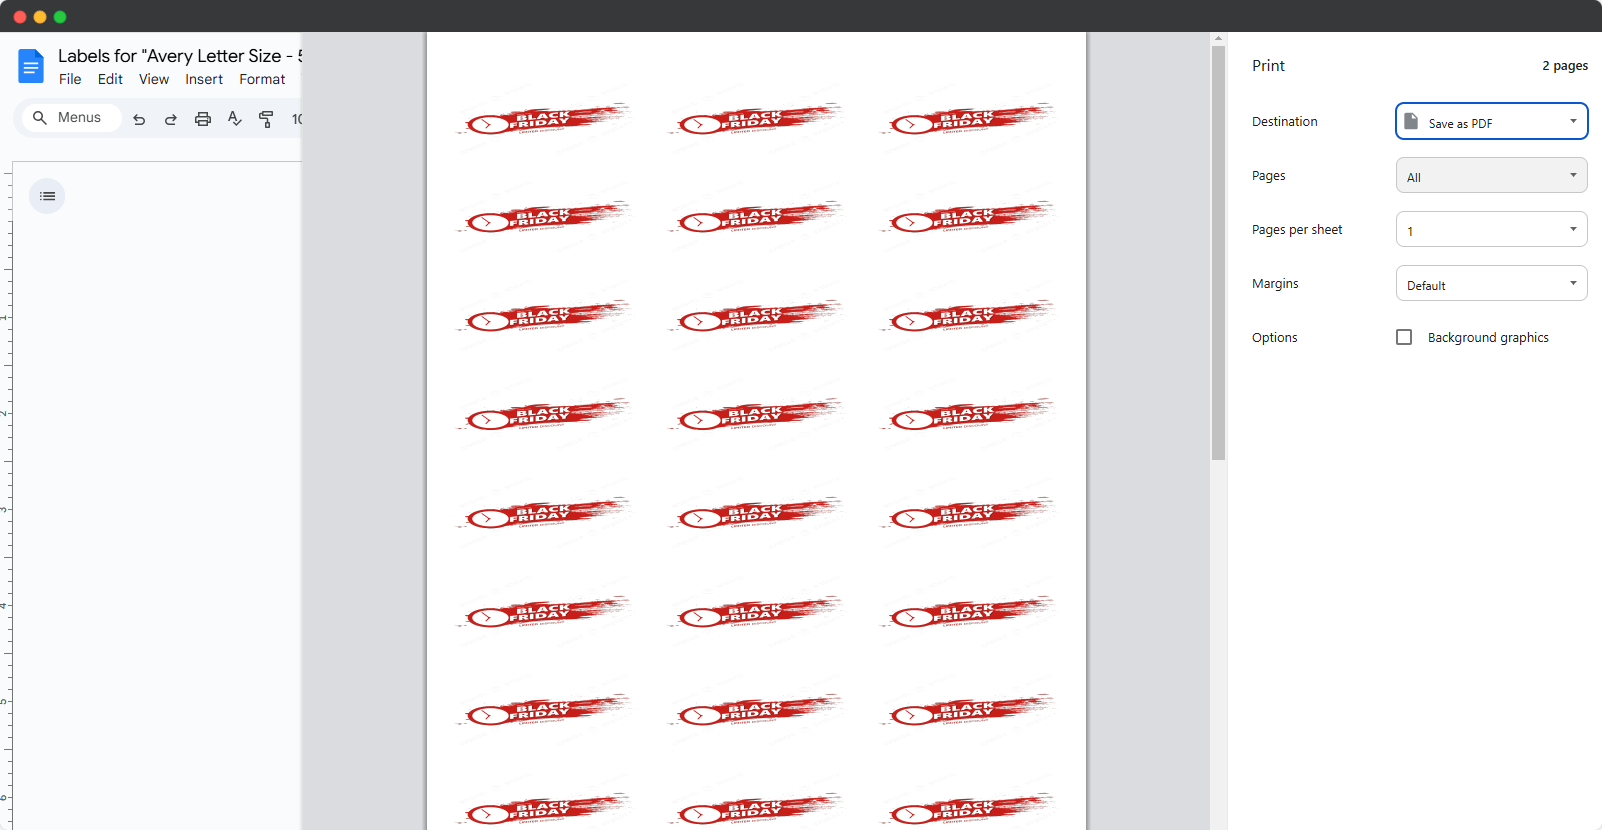
Open the downloaded or Drive-saved PDF and click File → Print. In the print dialog make sure to:
- Set scale to 100% or Actual Size — never use Fit to page
- Set margins to None
- Confirm the paper size matches your label sheet (e.g. US Letter or A4)
Load your label sheet into the printer and print. Your Black Friday image will be printed on every label across the full sheet, ready to stick on your products or packaging.
It’s your turn to create Black Friday labels!
Now you know how to turn any Black Friday graphic into a full sheet of printed labels in minutes using Smart Label Maker.
Install Smart Label Maker to create Black Friday labels now. To learn more, check out our other tutorials.