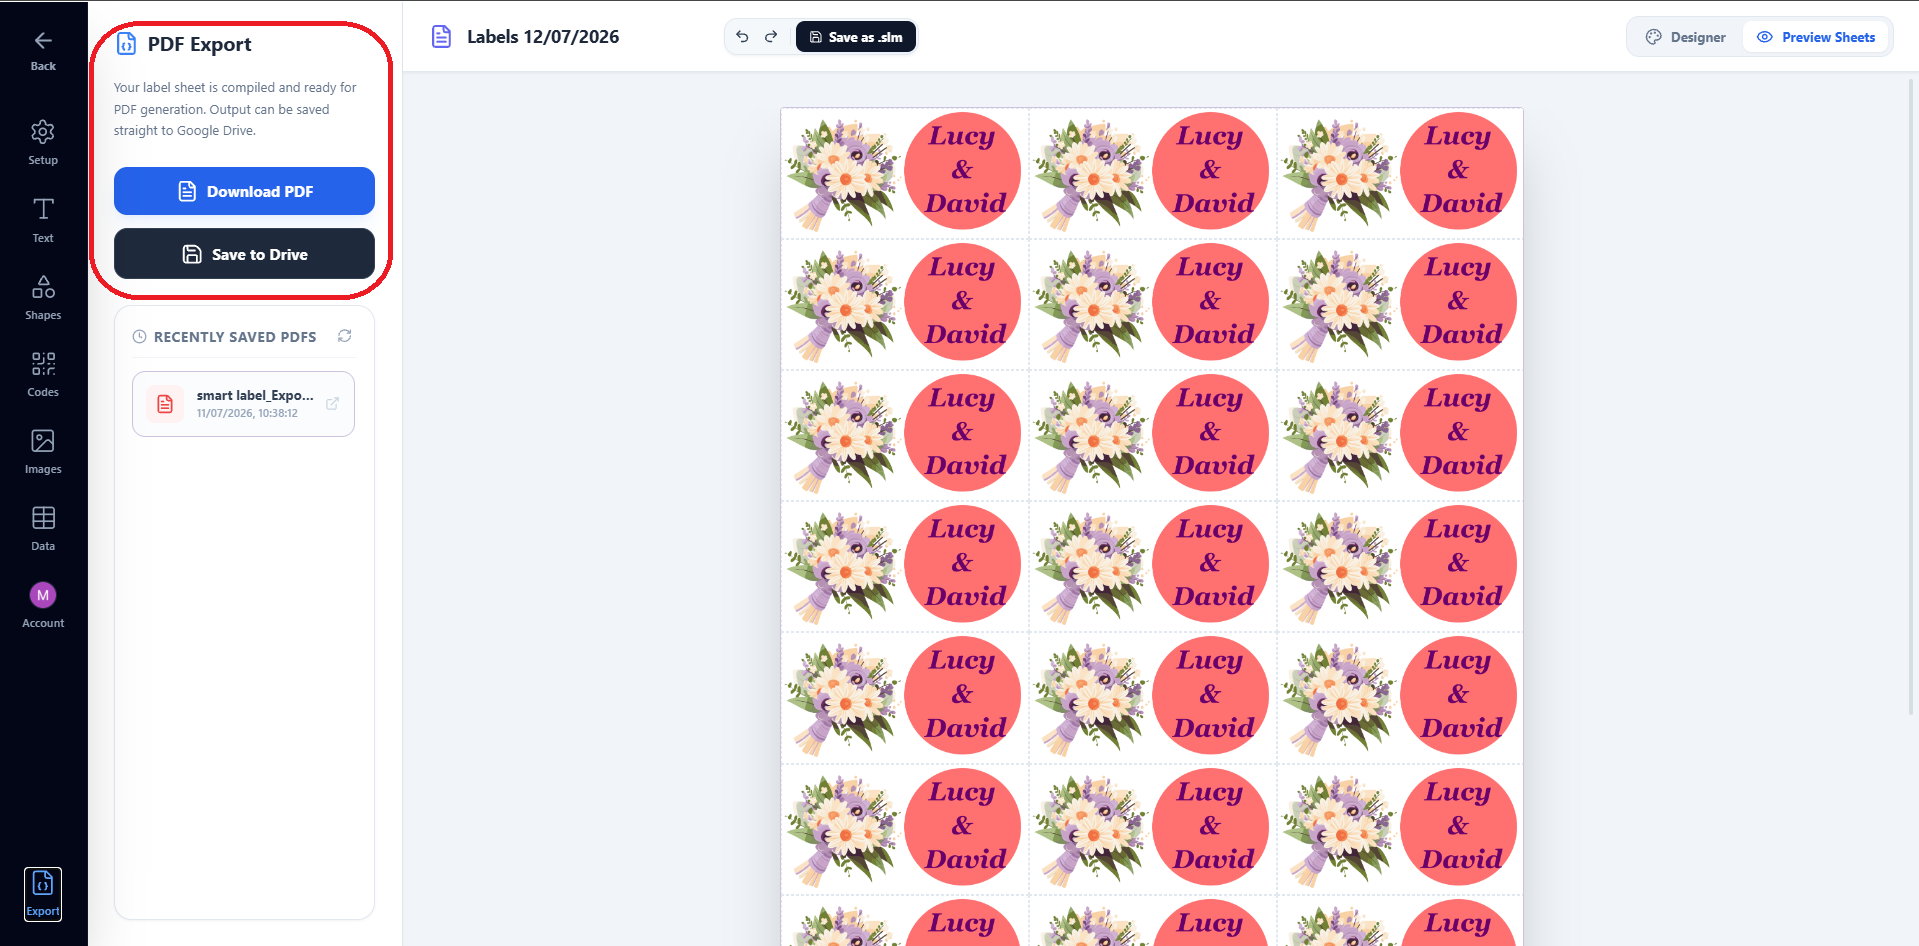
How to create wedding labels in Google Sheets ?
In this guide, we’ll teach you how to make your own wedding stickers. Google Sheets make it super easy to create your own wedding labels and save a fortune on paying someone to do this for you.
Custom wedding labels will bring a personal touch to your special day. We’ll see how you can make wedding favors for guests, create personalized invitations or even print wedding labels for water bottles or wine bottles!
💍 Here is a summary of this step-by-step guide:
- Open a spreadsheet
- Open Smart Label Maker
- Select a template
- Insert a table
- Add an image and text
- Remove table borders
- Create your wedding labels
- Preview before printing
- Print your wedding labels
1. Open a spreadsheet
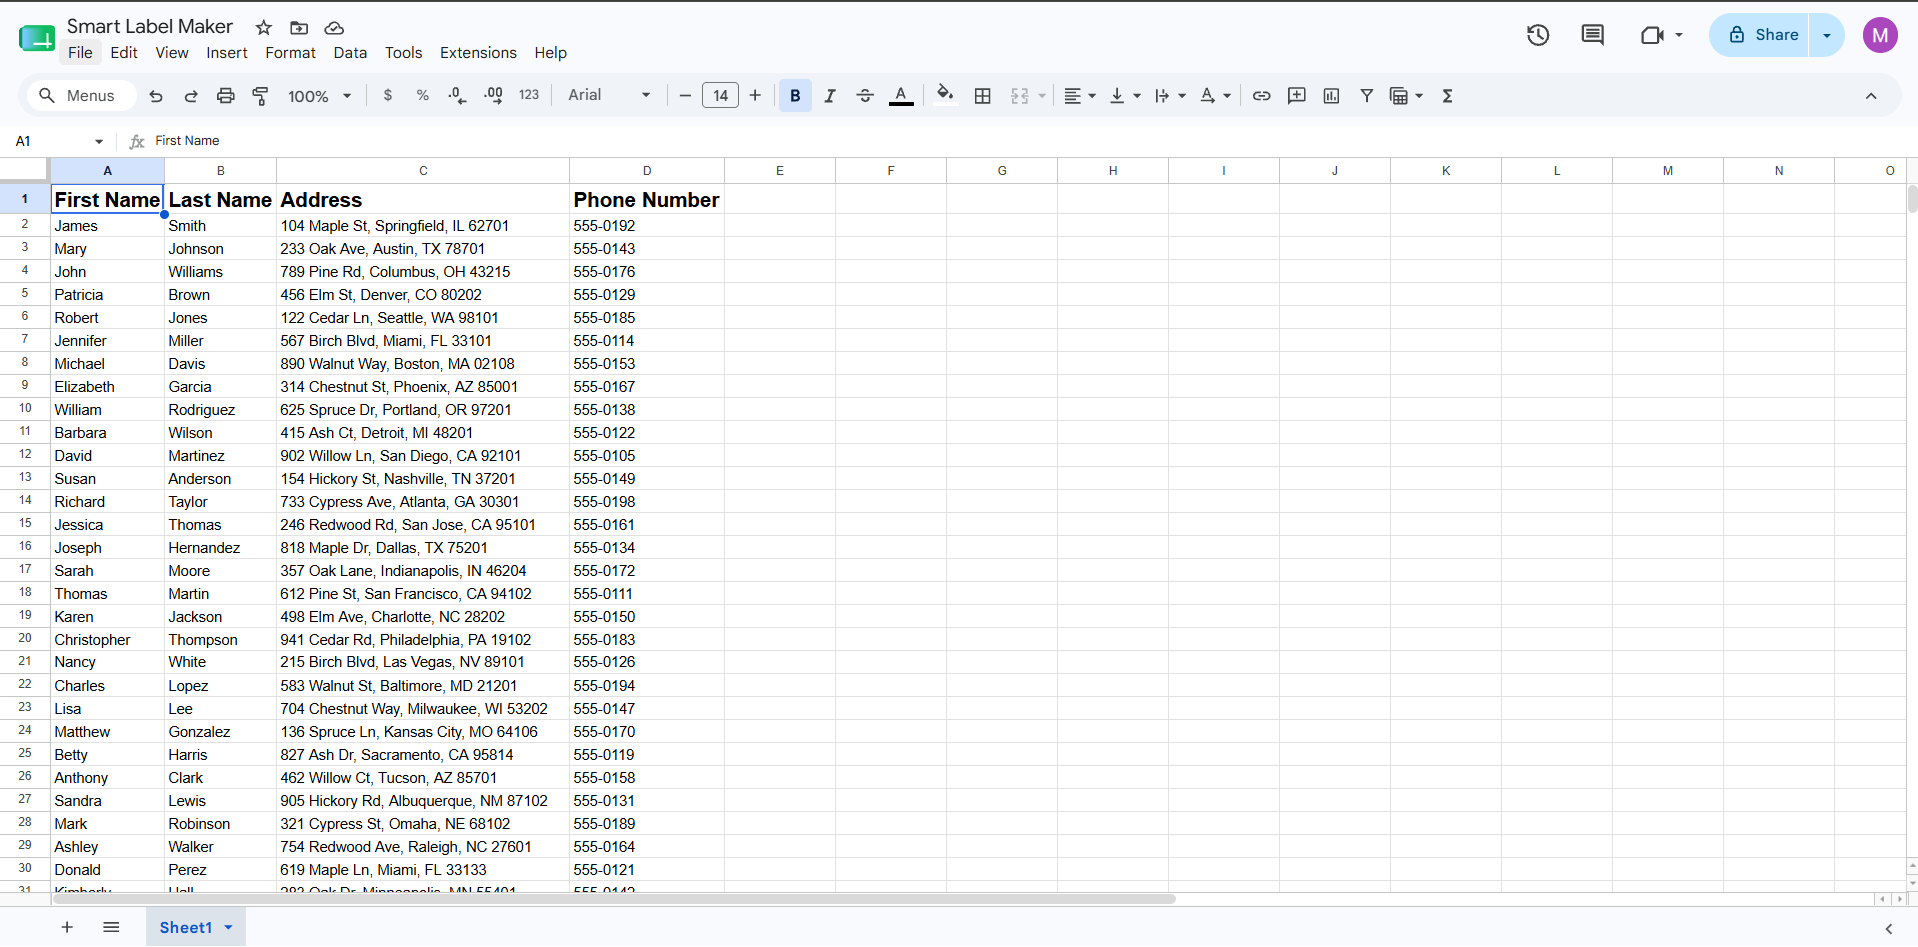
To begin, Open a new Google Sheets. You can leave it blank, or add a list of your guests with their names and addresses. This spreadsheet will be used to create and print the wedding labels.
2. Open Smart Label Maker
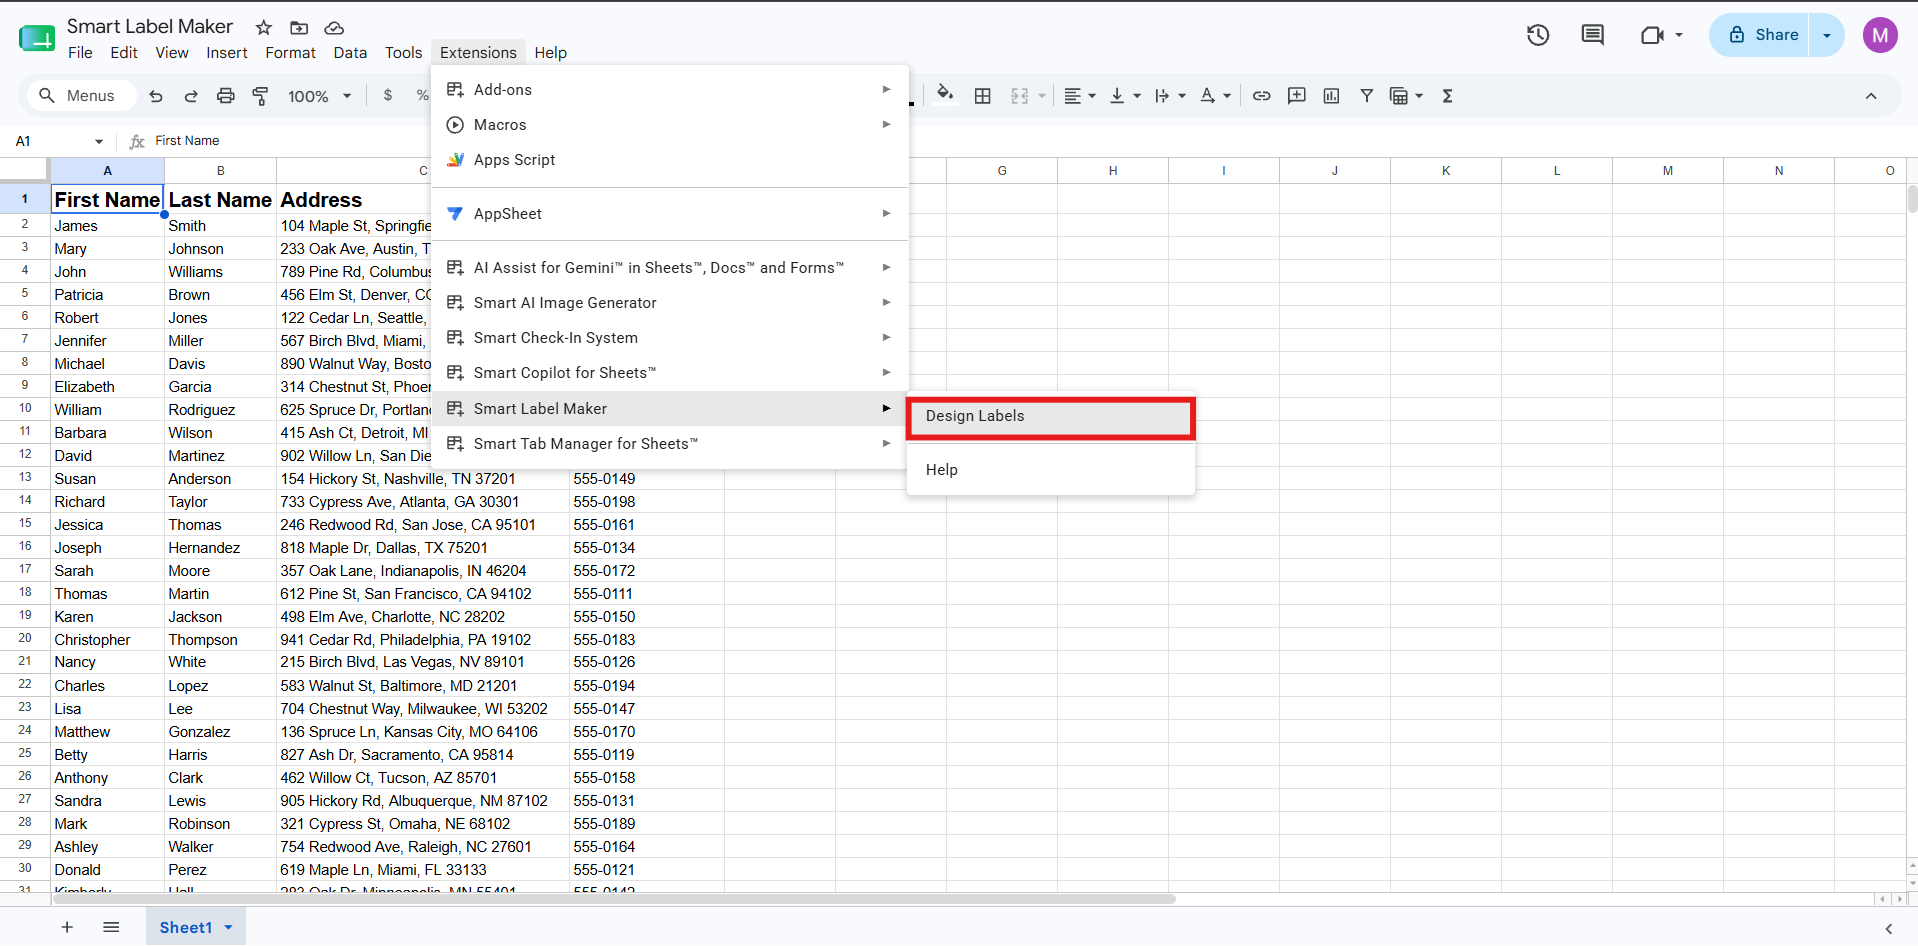
Then, go to the “Extensions” menu and select “Smart Label Maker”. If you haven’t installed the add-on yet, you can get Smart Label Maker from the Google Workspace Marketplace.
3. Select a template
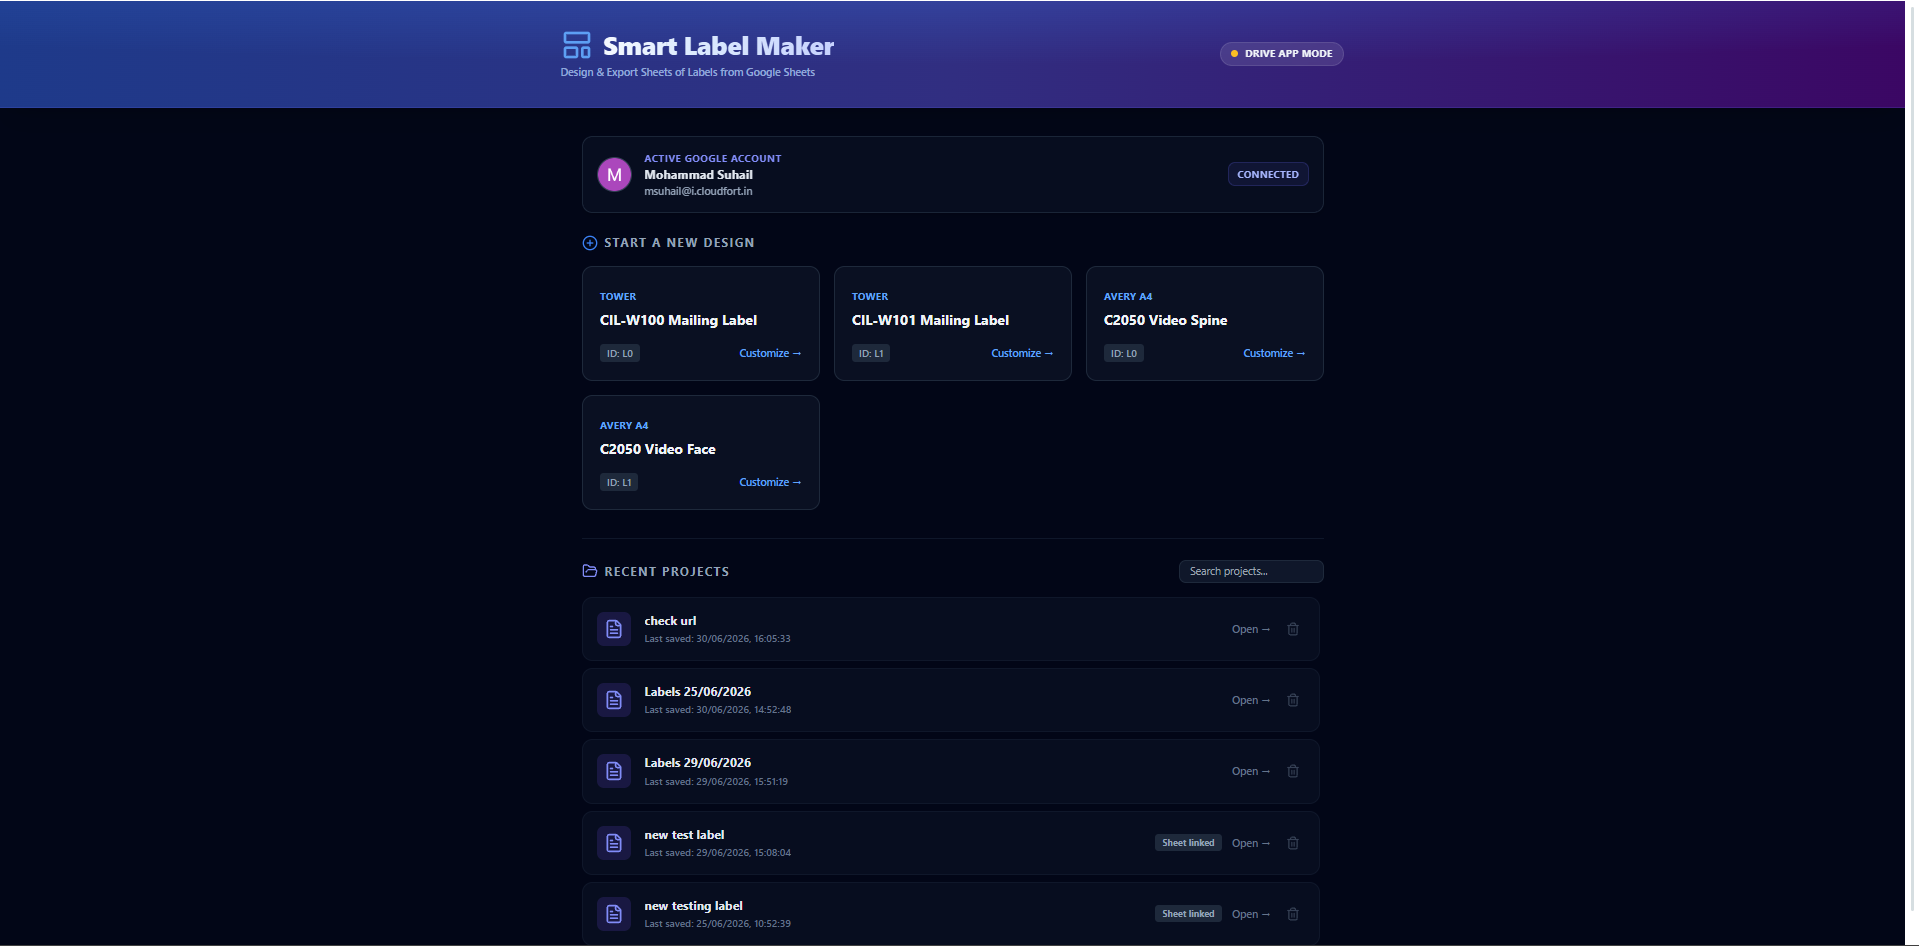
In the Smart Label Maker sidebar, click on “Select a template”. You will be given several template options. As of writing, you can choose from over 5000+ labels.
There are several categories such as Avery® US Letter, Avery® A4, Avery® Zweckform, Sheetlabels.com, OnlineLabels.com and Herma. In this label guide, we will be using the “Avery 5160” template, which is a commonly used label format.
4. Design your wedding labels
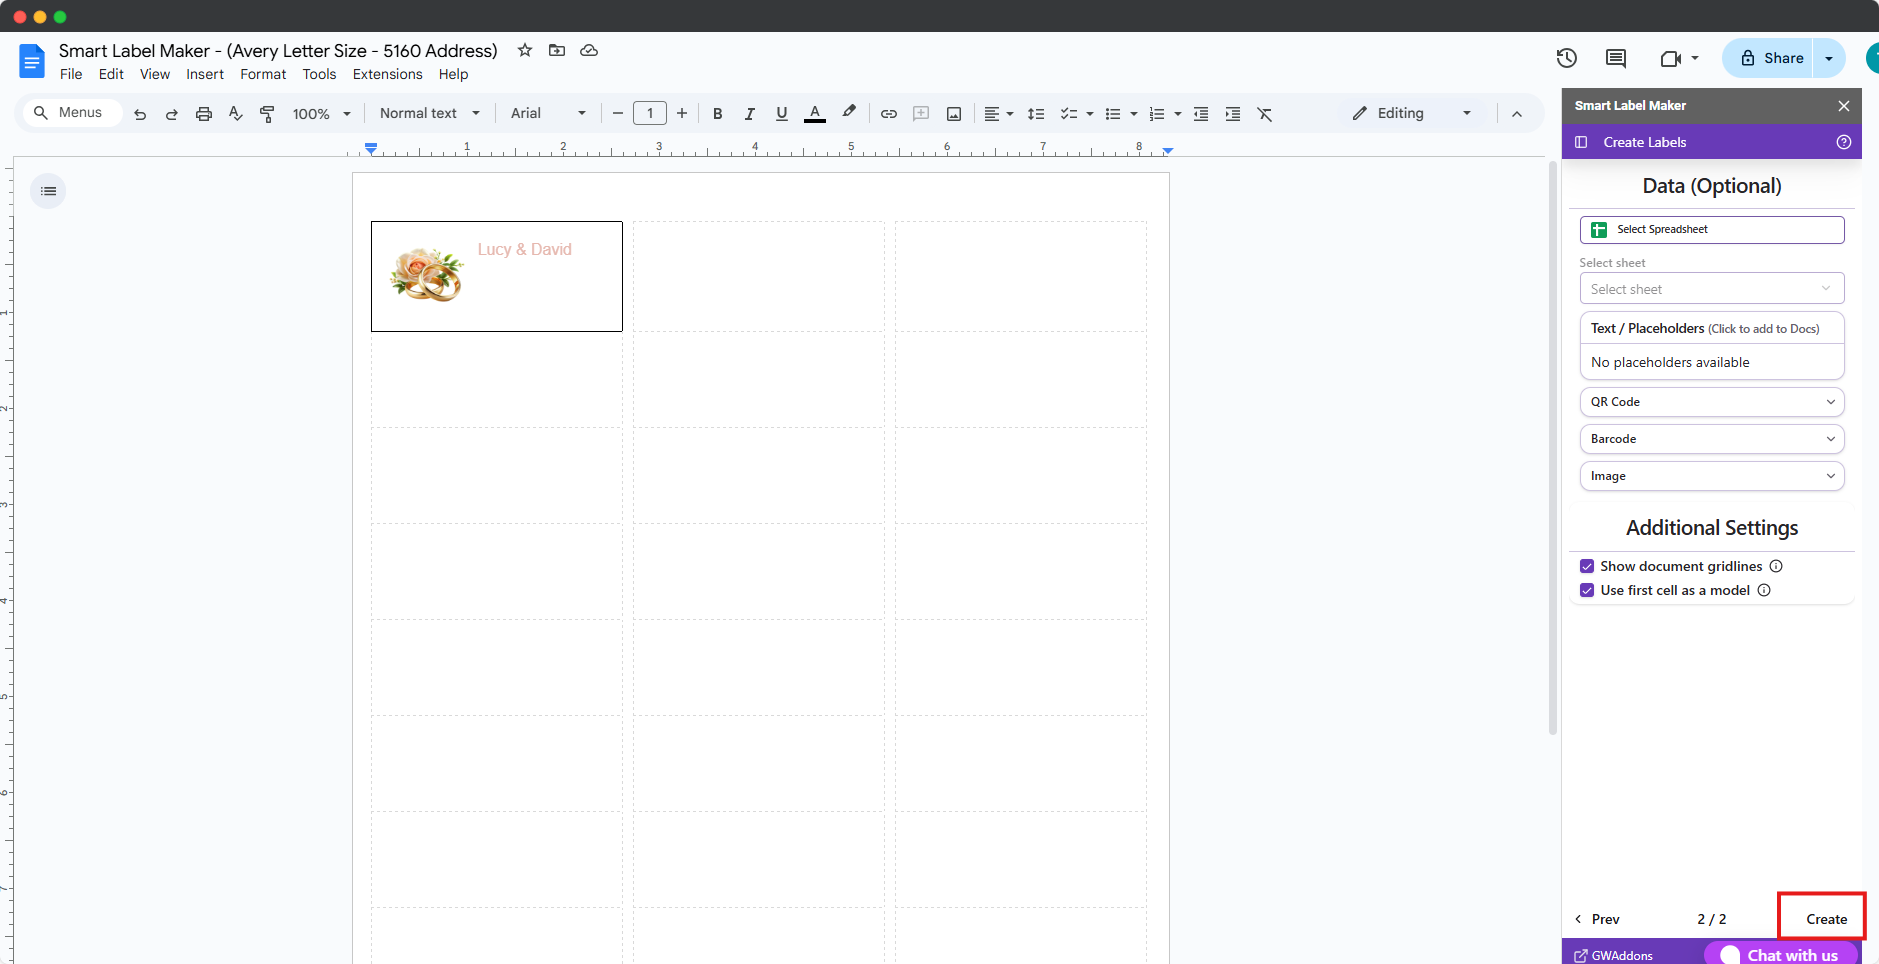
Now is the time to start designing your very own labels for your special day. The new interactive design canvas allows you to build beautiful wedding labels with ease.
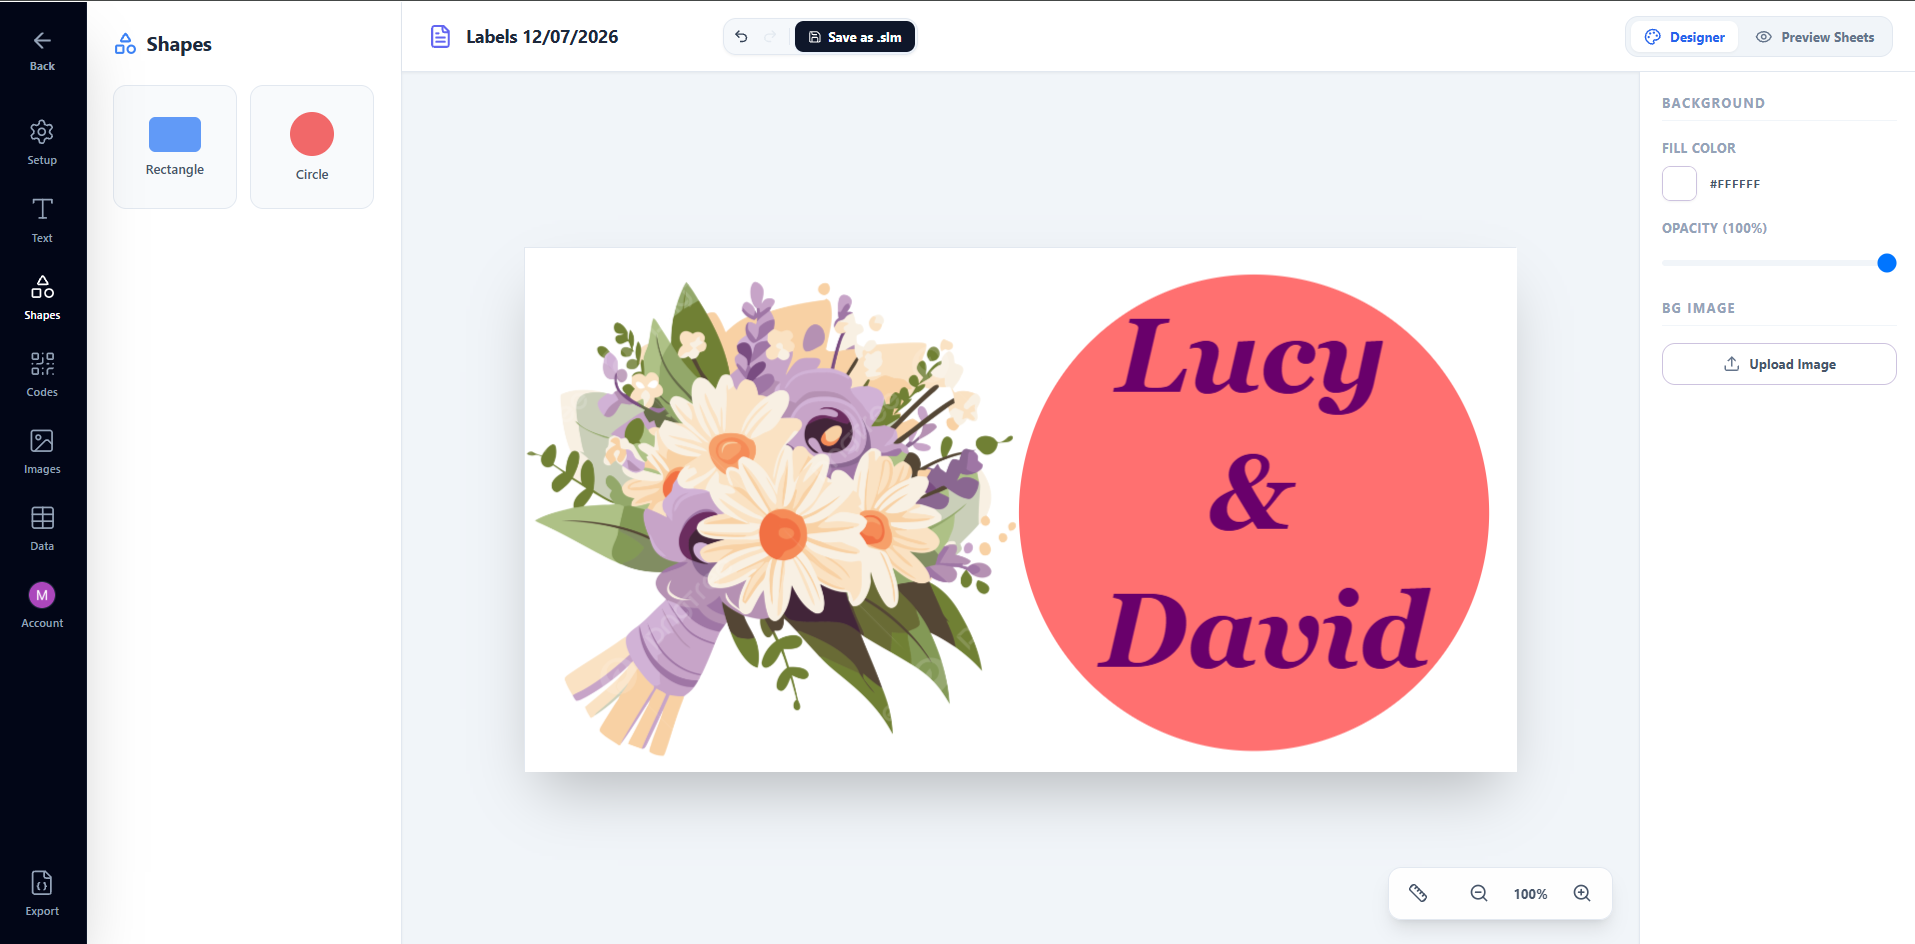
You can add text boxes, images, and shapes directly in the canvas. To add an image in your wedding labels, use the image insert tool in the canvas editor.
5. Add text and personalized merge fields
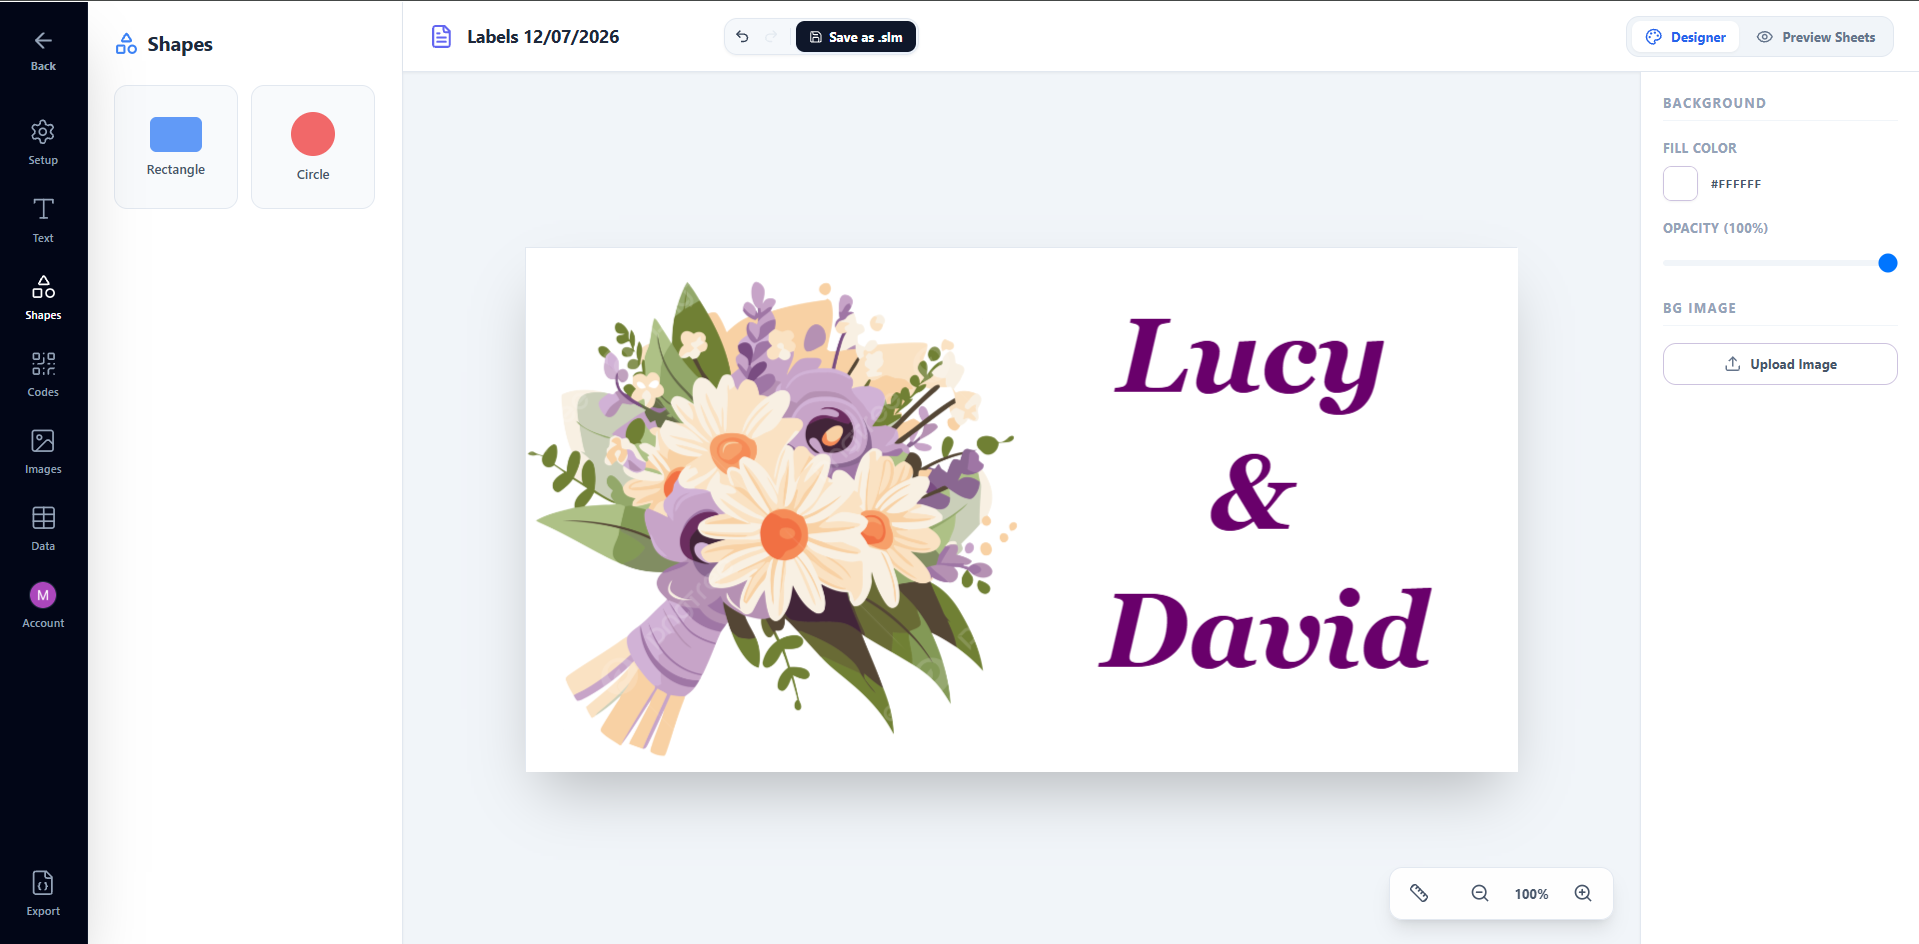
Click the Text tab again and click Add body text to place a text
box on the canvas. Double-click it and type your wedding message directly —
for example: Lucy & David
Feel free to increase the font size, add colors, and pick a beautiful font
that matches your wedding theme. Script and serif fonts work especially well
for weddings.
6. Create your wedding labels
When you’re happy with your wedding labels design, click on “Create labels” or the Export button in the Labelmaker sidebar. Wait a few moments while the app generates a high-quality PDF document with your labels.
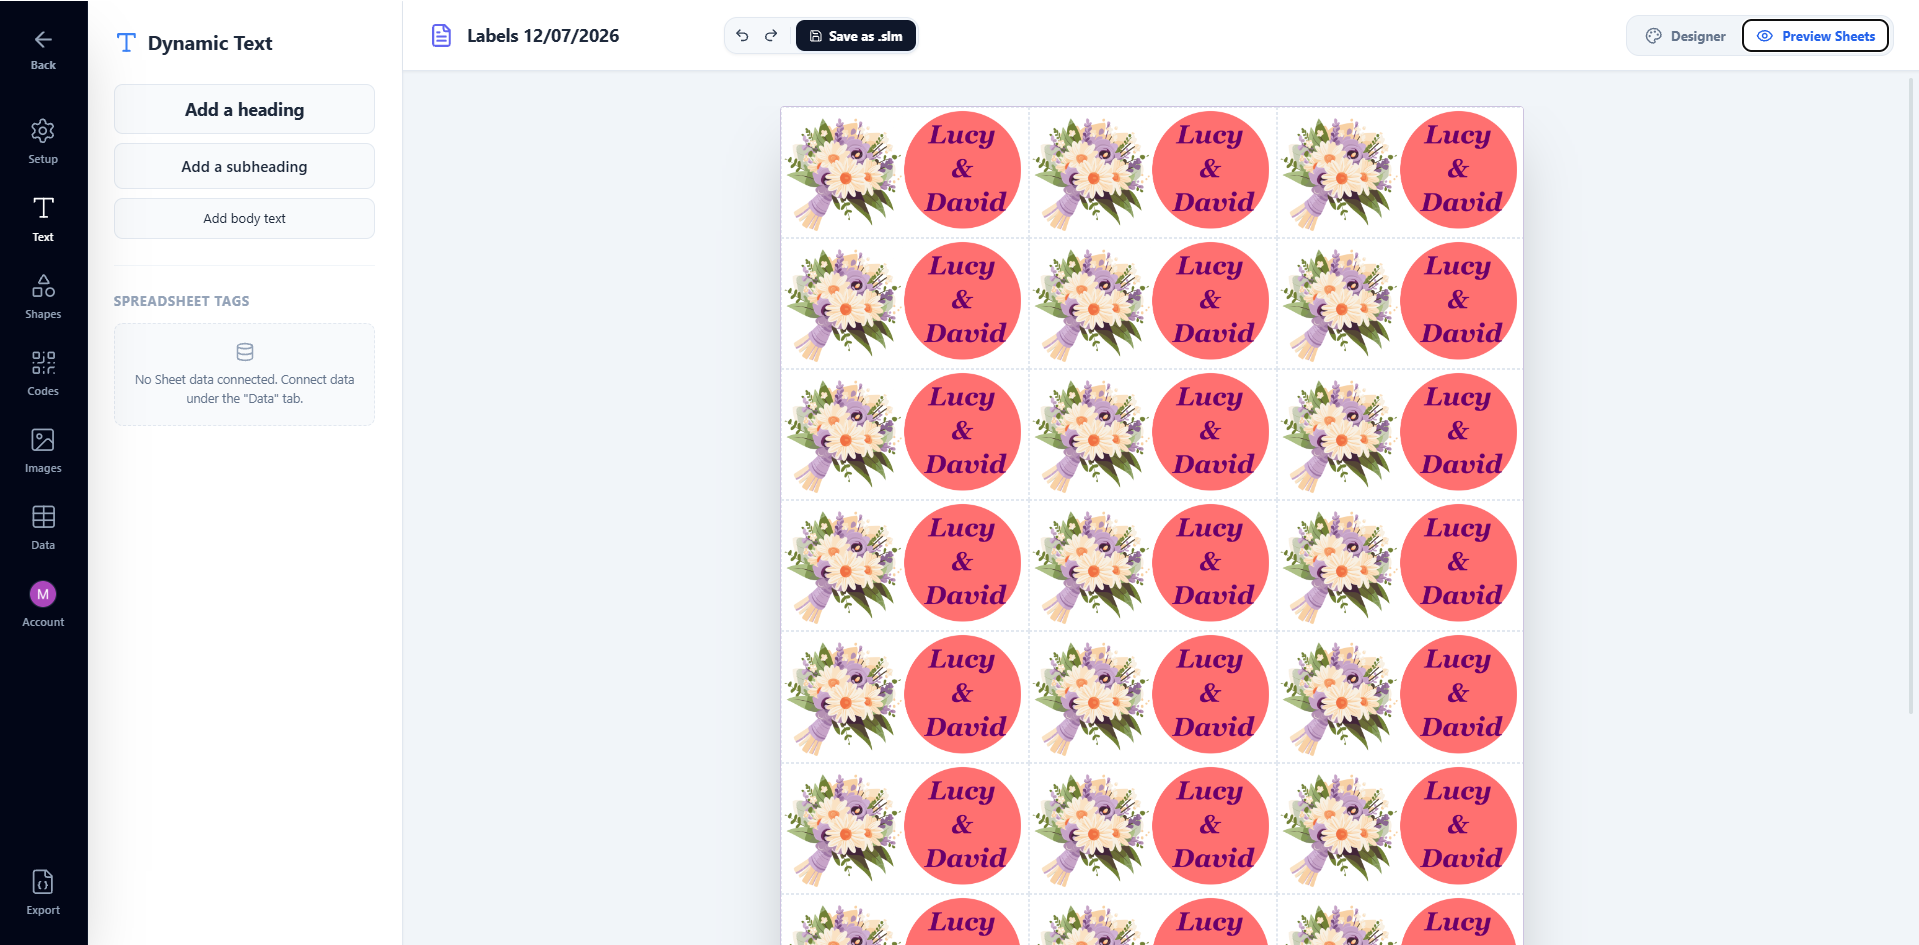
7. Preview before printing
Open the generated PDF document. Before printing your wedding labels, make sure that everything looks perfect. In case you have any alignment issues, check out our guide on How to fix misaligned labels.
8. Print your Wedding labels
You’re ready to print your own wedding labels at home. To print your labels from the PDF, click on “File” > “Print” in your browser or PDF viewer. In the print window, check that the margin is set to none and the scale to 100% (or “Actual Size”). Depending on the label format you chose, you might need to adapt the size of the page. In our example, the Avery® US Letter 5160 requires the size to be “Letter”.